I love getting calls from previous clients that they have another piece for me to redo. It’s always nice to know that someone liked what you did last time enough to want to me to do it again! It also helps that I have such great clients and it is just nice to get to work with them again.
This time the call was about a hope chest that had been in the family forever. The age was explained this way – it was grandma’s when she was a kid and she had been gone for 40 years. So in other words, old. The idea was to have it redone to be given as a wedding shower gift to the woman’s daughter which I thought was pretty awesome.
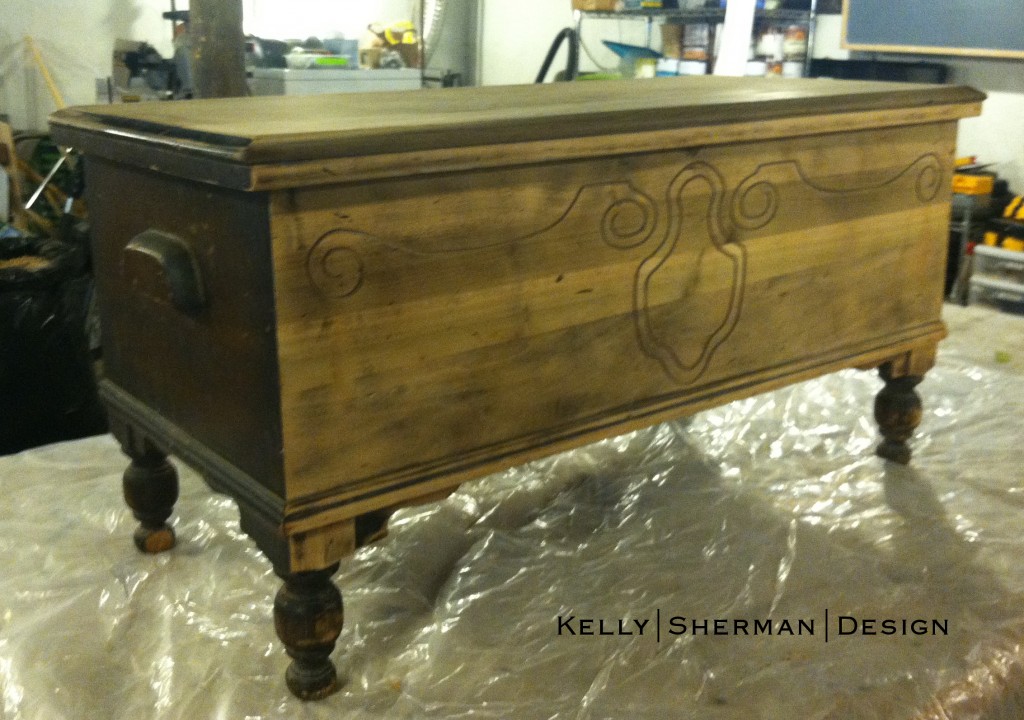
Sometime in the recent past a makeover had been started but not finished. The lid and part of one side has been partially sanded. The hinges were only half attached and there was one foot that had come off completely. It was in pretty sad shape. In fact for the before picture I has to lean the parts together so it wouldn’t fall over.
Since there were curves on the legs and a scrolly carved design on the front, I started by stripping with SoyGel. That helped with most of the finish but the dark stain was still in the wood. Next up – sanding. This is old wood which = hard wood. While using the power (random orbital) sander with 60 grit paper, sap would seep to the surface. It looked like the wood was crying and I kept looking for some kind of sign, like when those statues cry. (Nothing to report.)
To get the stain out of the grooves I moved on to hand sanding. Those legs don’t look like much but I will tell you that it took a lot of hand sanding. And they still looked terrible! I really wasn’t sure it would come out ok. I reattached the leg which gave me some sense of accomplishment and moved onto stain.
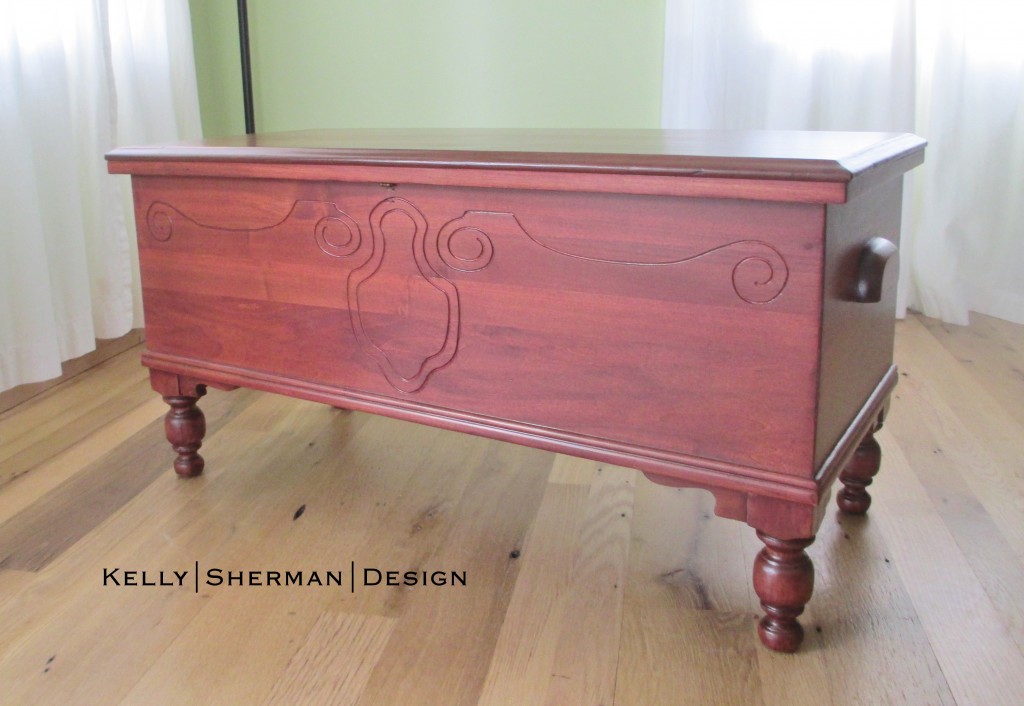
After one coat of Durostain in Mahogany I thought I had ruined it for sure. This was cedar and there are huge differences in the color of the wood in the same board. All four sides looked like different colors and the lid didn’t look like it was even from the same piece. A second coat was in order to even things out. The nice thing about the water based Durostain is you can dampen the wood first and have more control over how much soaks in. (It’s easier to do 2 light coats than have to sand off something way too dark.) I still wasn’t convinced but thought that poly would make everything better.
After a few coats of Vermont Natural Coatings PolyWhey in satin I knew all would be ok. Pretty nice in fact. Here’s the after.
A big thank you to all my clients, especially the ones who trust me with their treasures again and again.
Linking up at:


how pretty! I’d love for you to link up at my work it wednesday party!
xo, amy
http://theblissfulbee.com/work-it-wednesday-no-8/
Wonderful hope chest, love the red.
oh, it turned out beautifully, wonderful job!
very pretty makeover on this cedar chest. I Love the little legs (feet) so cute!