
This past weekend I spent sometime in my garden getting a sunburn (every year I get excited it’s sunny and get sunburn on that first day out.) Why? Because all my pieces for the Habitat for Humanity Luncheon are done! I dropped them all off to the Restore last Wednesday so I have a bit more time in my schedule now. I will say there is a strange feeling of disarray going on now that I don’t have my strict schedule to stick to. I took a few days off from all that and I am already missing the structure, and the deadline. Tomorrow will start a brand new list that I have to stick to.
So let’s look back for a moment at where we started. Here is the desk still on the ReStore floor the day I picked it out.

As soon as I saw the word oak on the tag I knew exactly what I wanted to do to this desk. Since the other designers are big paint people I wanted to do something different. I knew I could combine a few of my favorite techniques into one piece that had a good shot at being very different that any of the other pieces being auctioned.
After a lot of work, here is the after.

Where to begin? First I sanded off the old finish which was just a clear coat that was flaking off. When I just wrote that sentence it sounds easy enough, but it wasn’t. There was a lot of square footage to tackle. There are a bunch of drawers. And some parts are veneer which is very tricky to sand without sanding through the first layer of wood. (By the way, veneer doesn’t mean cheap. It used in a lot of fine furniture. It would be pretty hard to find a solid board wide enough to cover the whole side panel.)
For the stain, I used something I use on other things but have been dying to try on furniture. I made my own vinegar stain! To make it you soak steel wool in vinegar for a bit then brush on. The solution reacts to the tannins in the wood to darken the wood. Brushing on very strong tea first (to add tannins) helps get the color darker. But it’s really kind of a unpredictable science. It’s all about a chemical reaction and you never know exactly what you will get but the technique is known to “ebonize” oak, which is the first reason I was excited when I saw the desk. You won’t get this reaction from light woods like maple. In fact that’s why the feet were painted white; they had no color change at all. I will be putting together a tutorial very soon on the whole process.
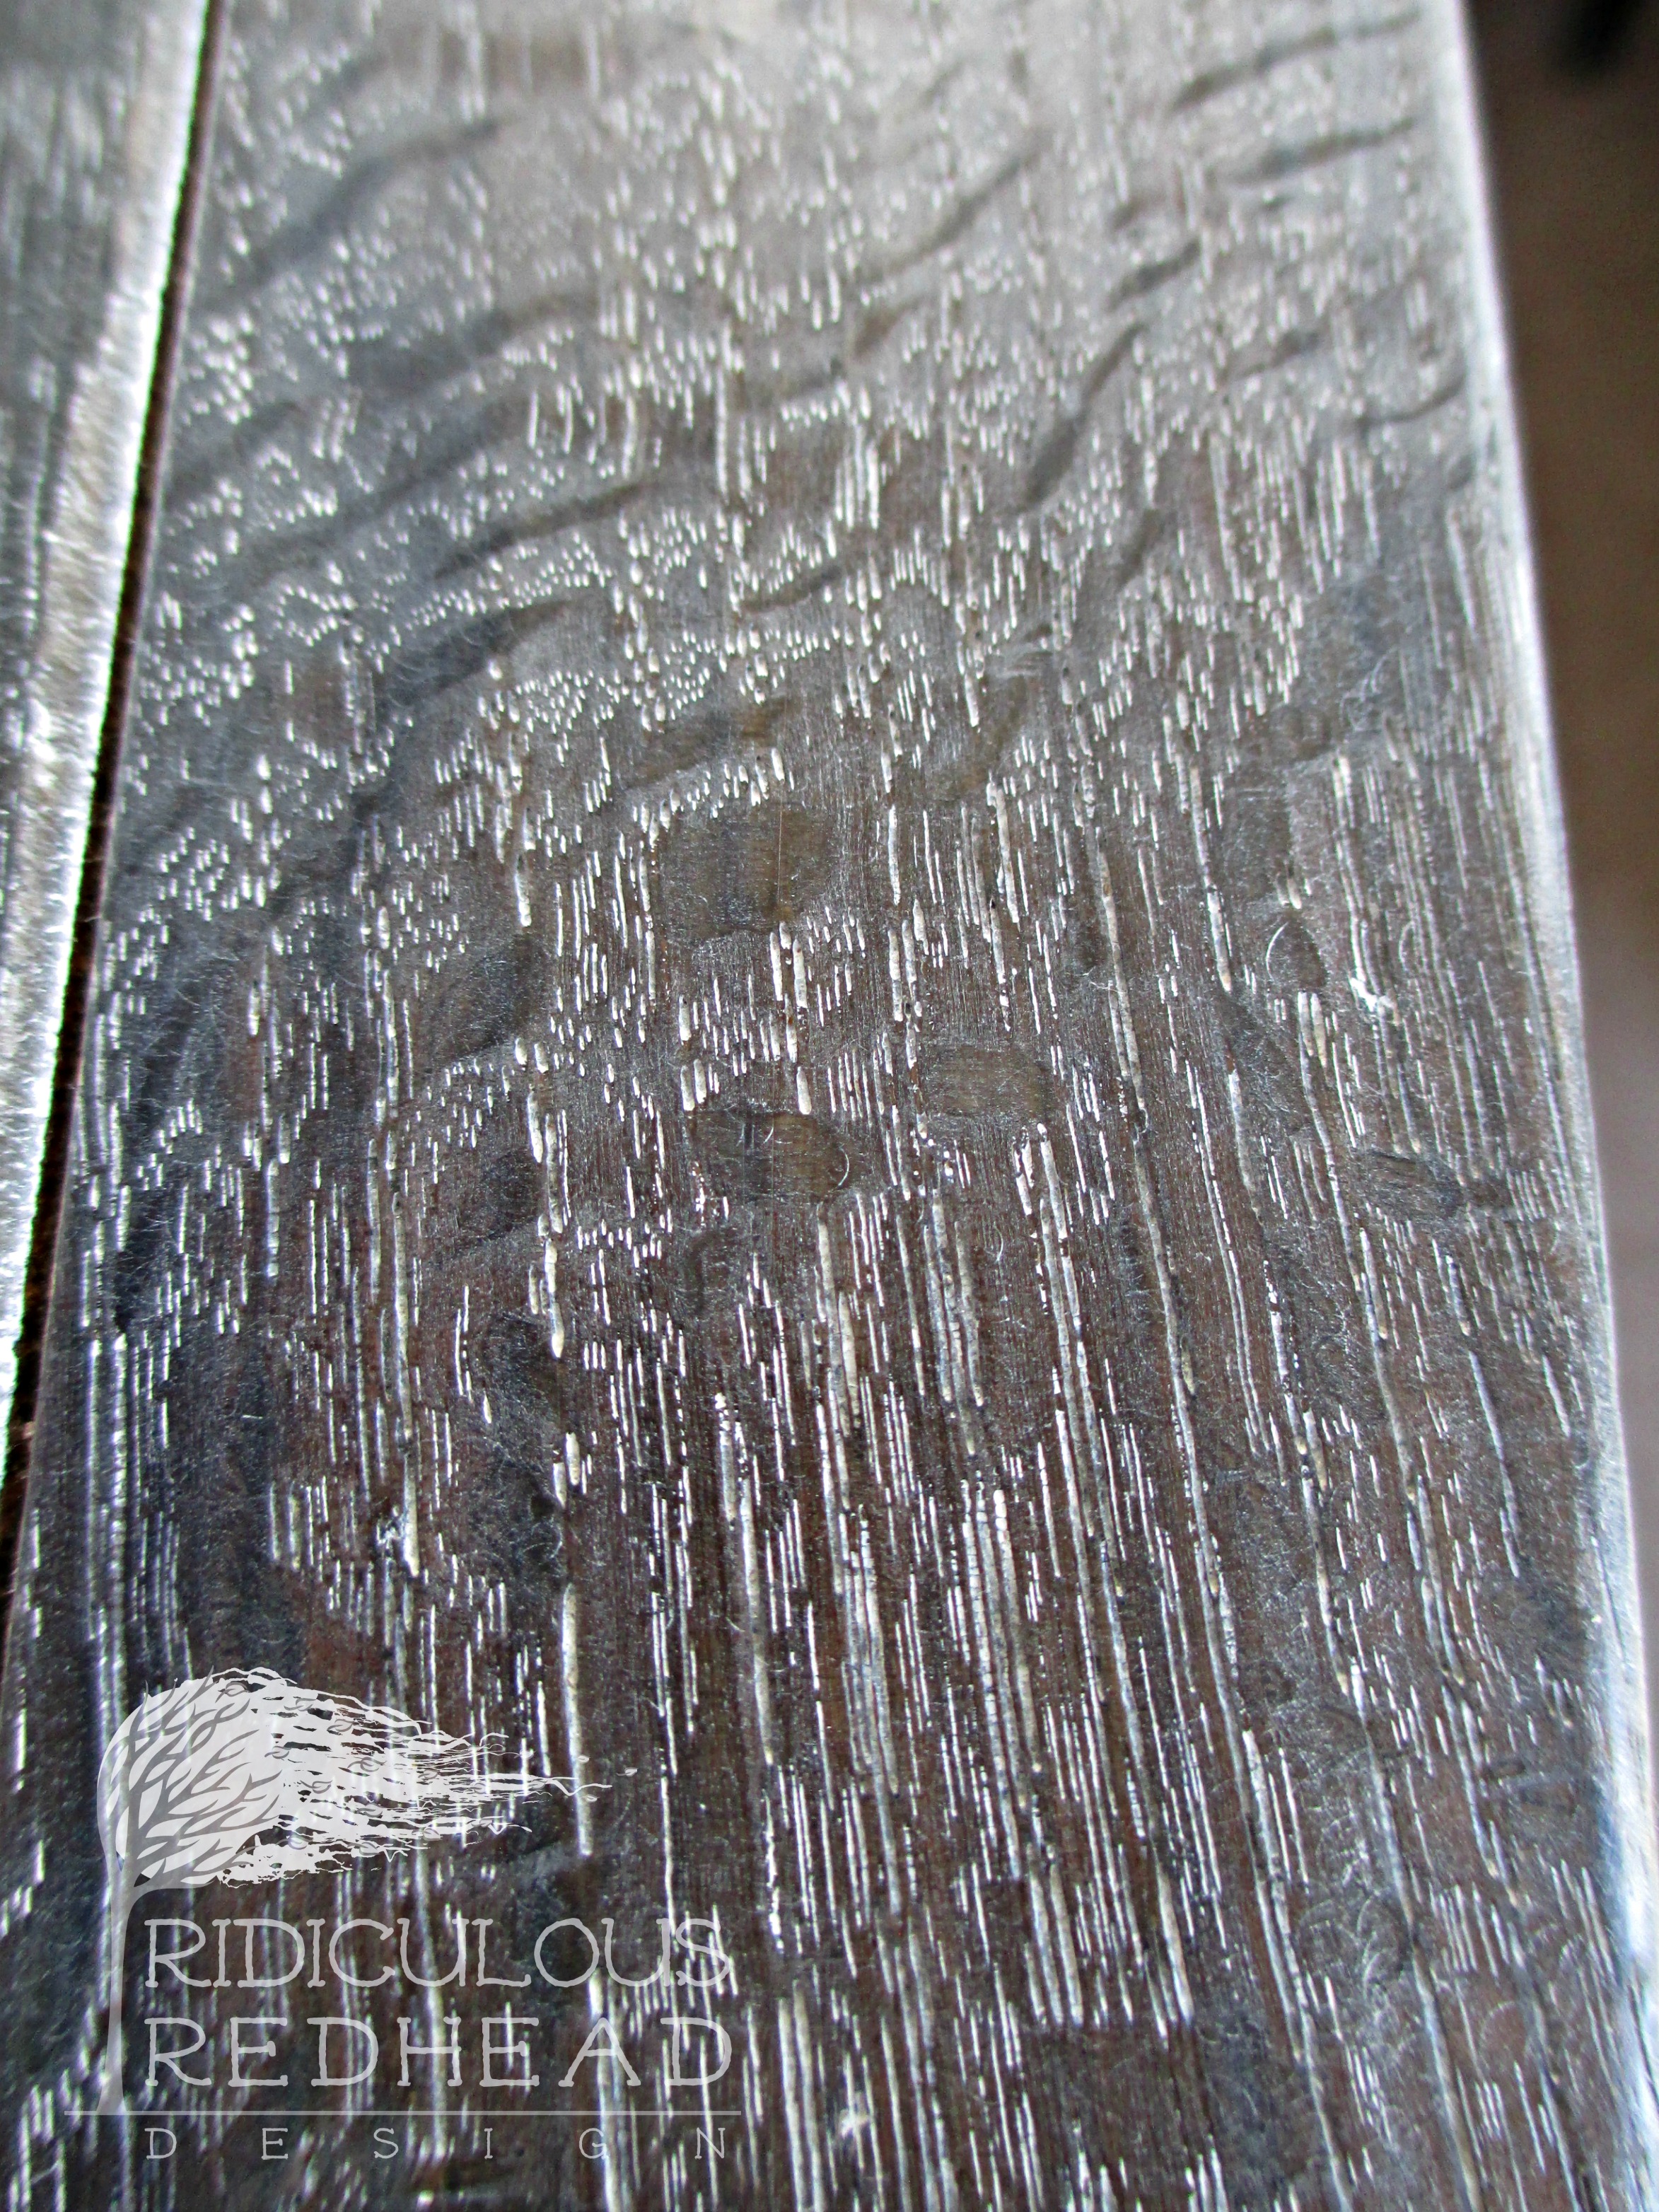
The second reason I was excited about this desk? Cerusing! I have used this process before but with a very different wood so it came out a bit differently. Oak has a very open grain which is perfect for cerusing. To ceruse you wire brush the wood in the direction of the grain before staining it to open the pores. After staining you use a rag and cover the whole thing in watered down paint. Then you use steel wool to take off the paint on the surface leaving the paint only in the grain. When using a dark stain and a white paint, the contrast is beautiful.
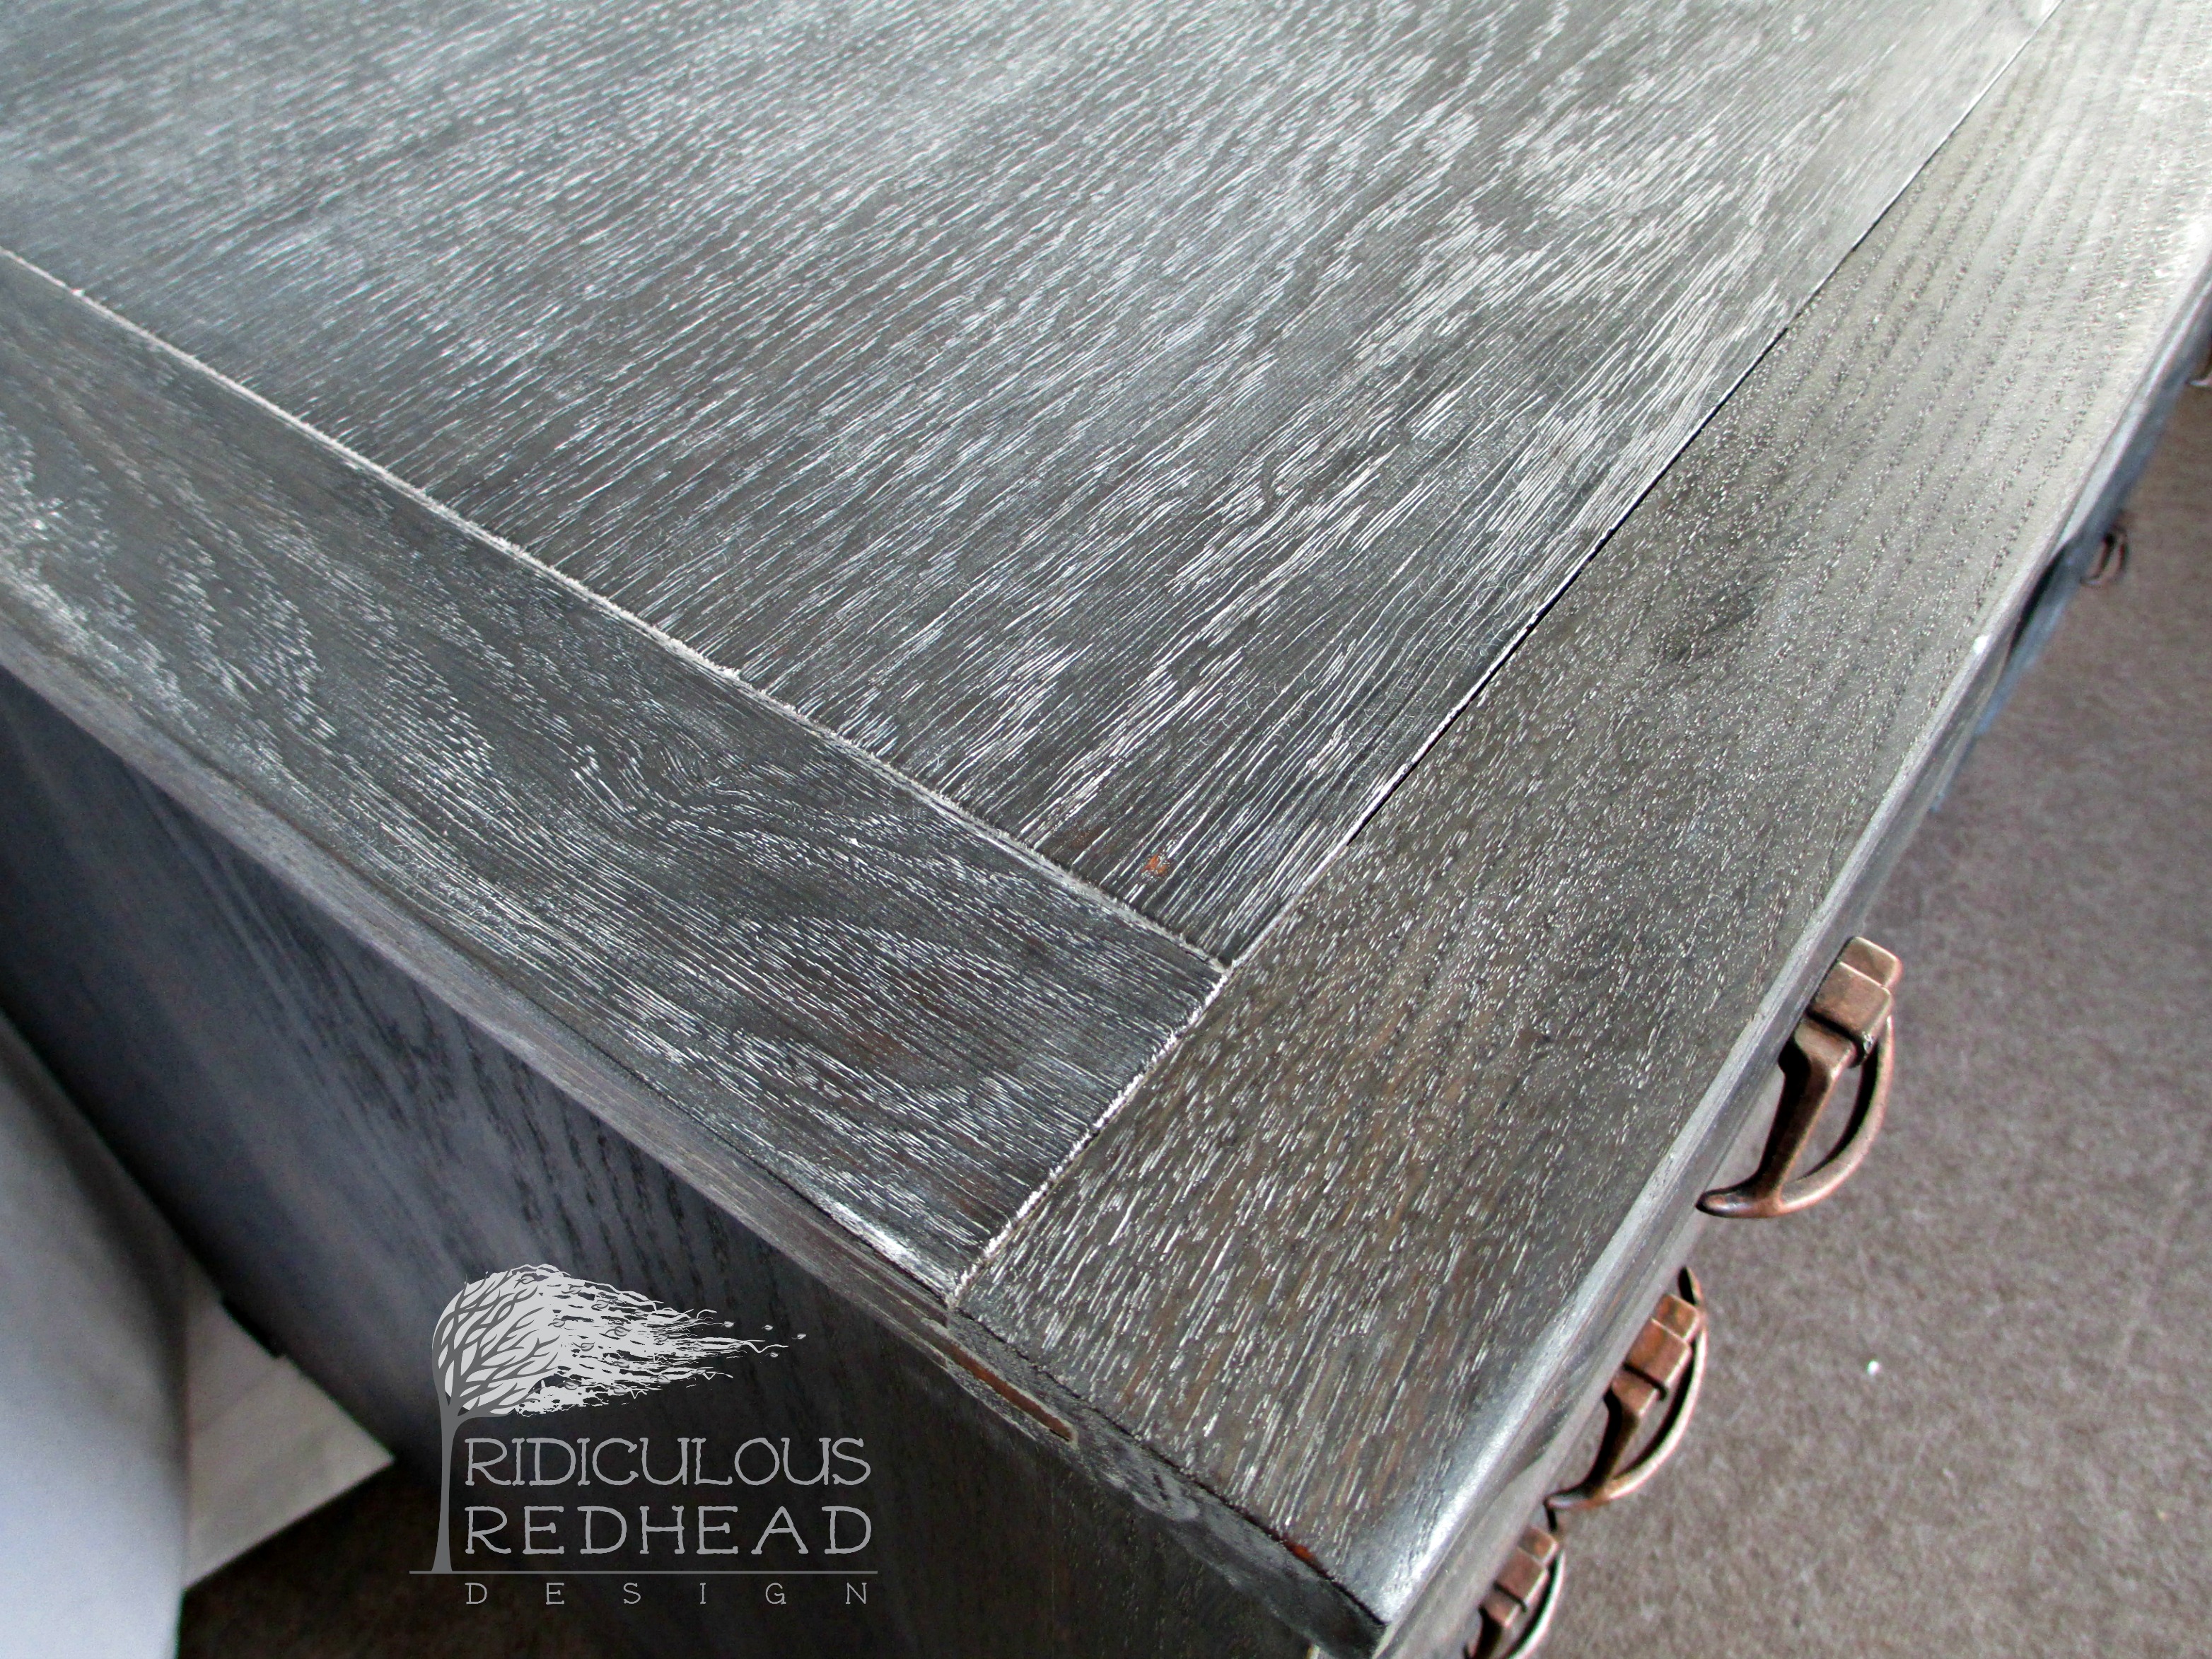
I am a push over for a beautiful wood grain so you can see how this is one of my favorite finishes.
This finish invites you to rub your hand across it. Even Lincoln would walk by and want to touch the top. I didn’t want the top coat to interfere with that so I chose to use pure tung oil. This is an ancient finish and has been used for centuries to waterproof boats and steamer trunks. It comes from the tung nut (not ground up animal tongues!) so there is no petroleum used. And in it’s pure form it is food safe. You can’t get much more eco than that. I get mine from the Real Milk Paint Co. which is another small business in the USA making eco stuff. I will be talking a lot about this in the near future and the rumor is there might be some kind of giveaway so keep your eyes peeled!
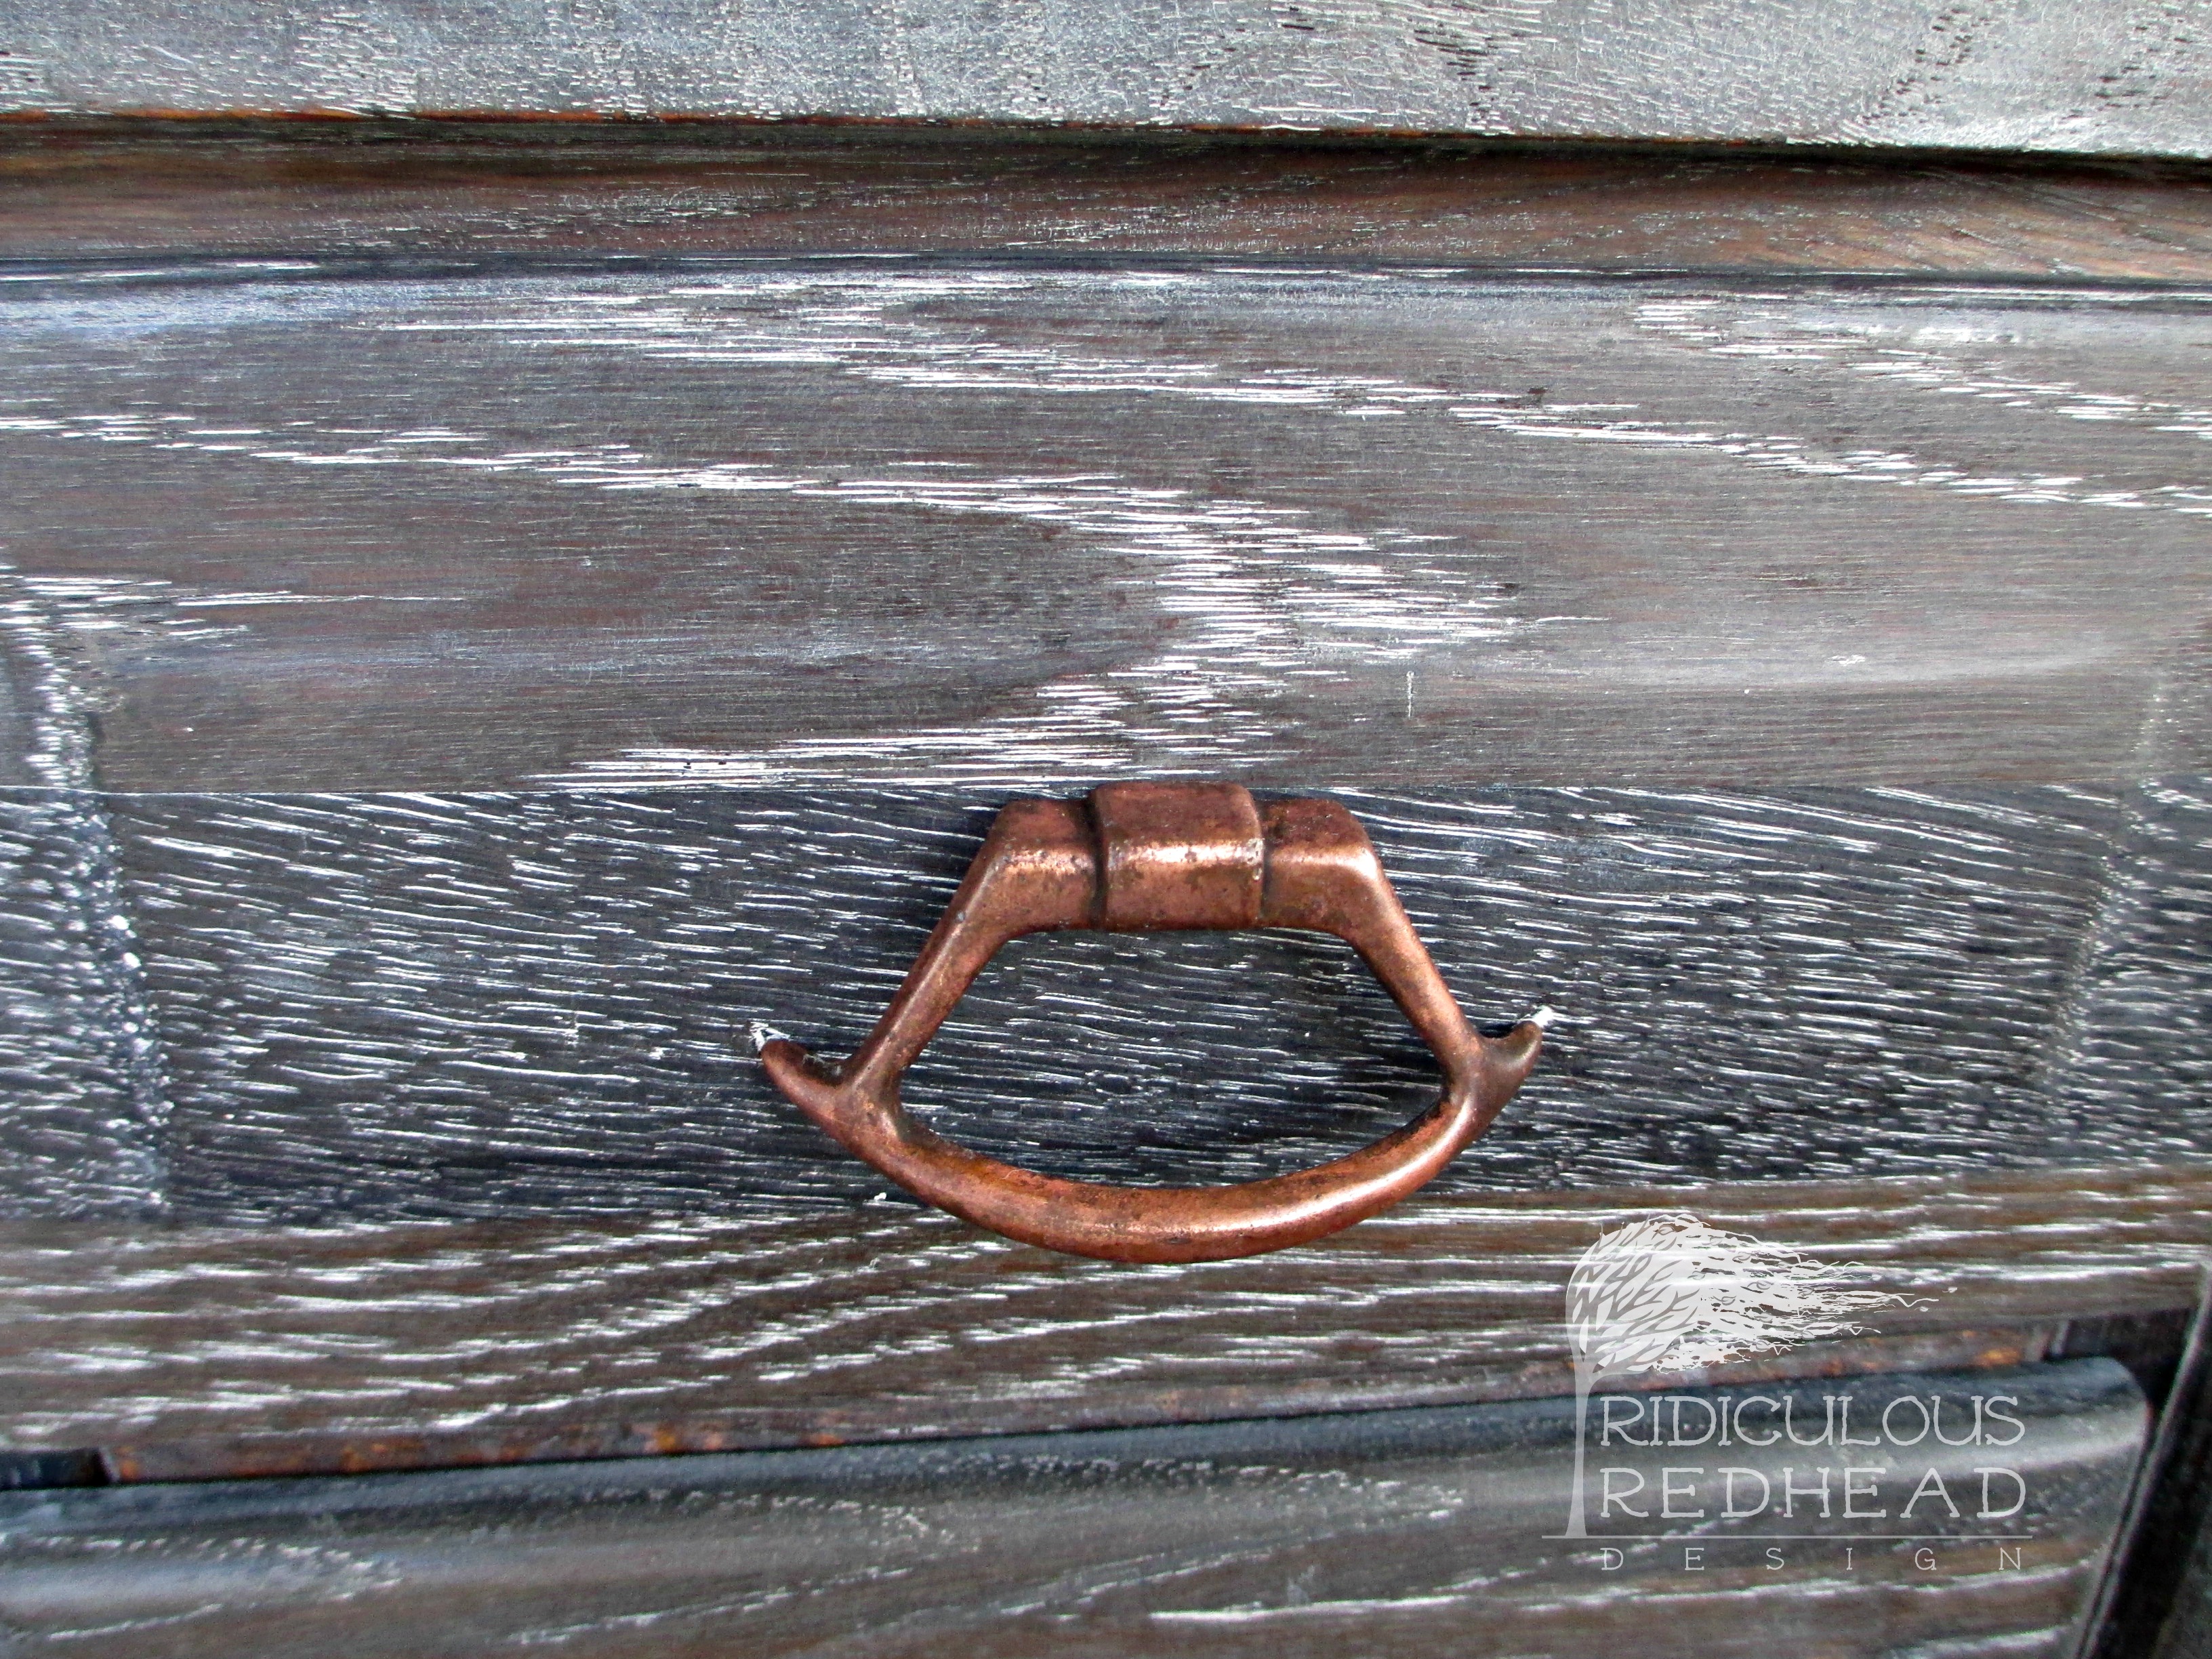
The last part of the makeover is the hardware. Here is a before pic. I loved the shape but the old grimy black color wasn’t going to work.

I had a lot of ideas but no real plan for these. I figured I would start with a cleaning first. I tried to scrub them but got no where. Then I put all of the handles in a tray and poured lemon juice all over them and let them sit. Under all of that was a lovely worn copper that I thought went perfectly against the desk. I rubbed a little tung oil over them to prevent any tarnish or rust.
So there you have it. This desk was a lot of work but one of mine (and TB’s!) favorite pieces. And if my arms look good this summer in tank tops, I will have this desk to thank.
If you are in the area (Central/Shore NJ), please come to the Habitat for Humanity Women Build Luncheon and see the desk in person. It will be auctioned off for Habitat so you can take it home and raise money for a great cause. You can buy tickets here. And if you have any questions, let me know. I would love to meet you in person!
Linked up at:

That is absolutely awesome! I know it was a lot of work, but well worth it. What a great thing that you are doing with Habitat for Humanity. Thank you!
I love it….looks great. http://pam-lifethroughmyeyes.blogspot.com/
Hi, for clarification. It is sanding, wire brush, stain, paint, and top coat?
Yes! Some will stain then clear coat to give a base before painting. Once the paint goes on you can wait until it dries to sand off or what I found a bit easier is to let it only dry part way them wipe/scrub off. Good luck!