When we decided to put new floors in the living/dining room in December, we also bought enough of the same floor to go in the office and kitchen. We knew for a number of reasons we would have to install the floor in stages. Tomorrow is stage two, the office.
To be ready when my Uncle John gets here in the morning everything had to be cleaned out. Yesterday I moved all of the 4,073 books we own to the sun room. The furniture was placed wherever there was floor space. All over the house. The dog is confused. Unlike last time though we will only be cut off from one room, not half the house.
Today was the day I set aside to take out all the baseboard trim. The living room trim had been replacement, well, crap. I am a lover of old houses so to me it’s kind of sacrilege to take out 80 year old growth wood and then replace it with a form of plastic/wood crap. This is what the old owner did in the living room. I am currently trying to figure out how to register for the wedding for baseboard trim to replace it. The good part of the crap trim in the living room was it was easy to remove. The office wasn’t going to be that easy.
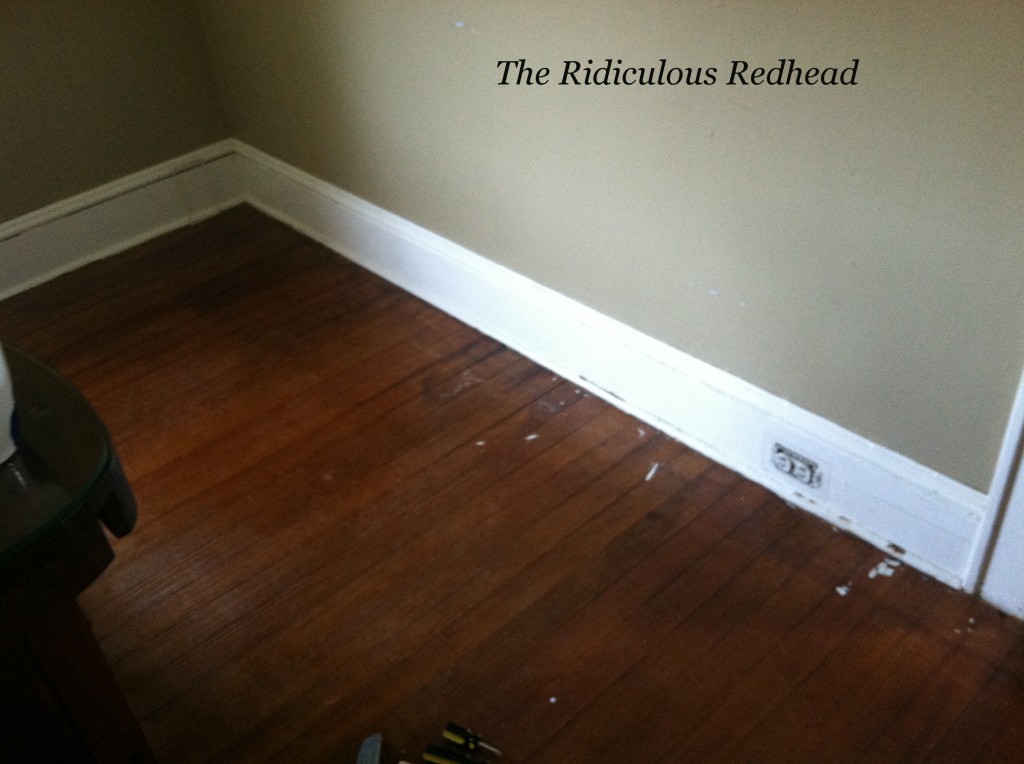
Here is a terrible before shot of the baseboard trim in question.
This is pretty classic baseboard made up of three parts. There is the main 1″x 6″ board, a curvy top piece and quarter round trim in the front. Of course me being me, I researched the best ways to remove the trim. I prepared myself that it was old and might just shatter and be useless. I got my tools together – utility knife, hammer, small flathead screw driver, wonder bar, small blocks of wood and a Sharpie marker.
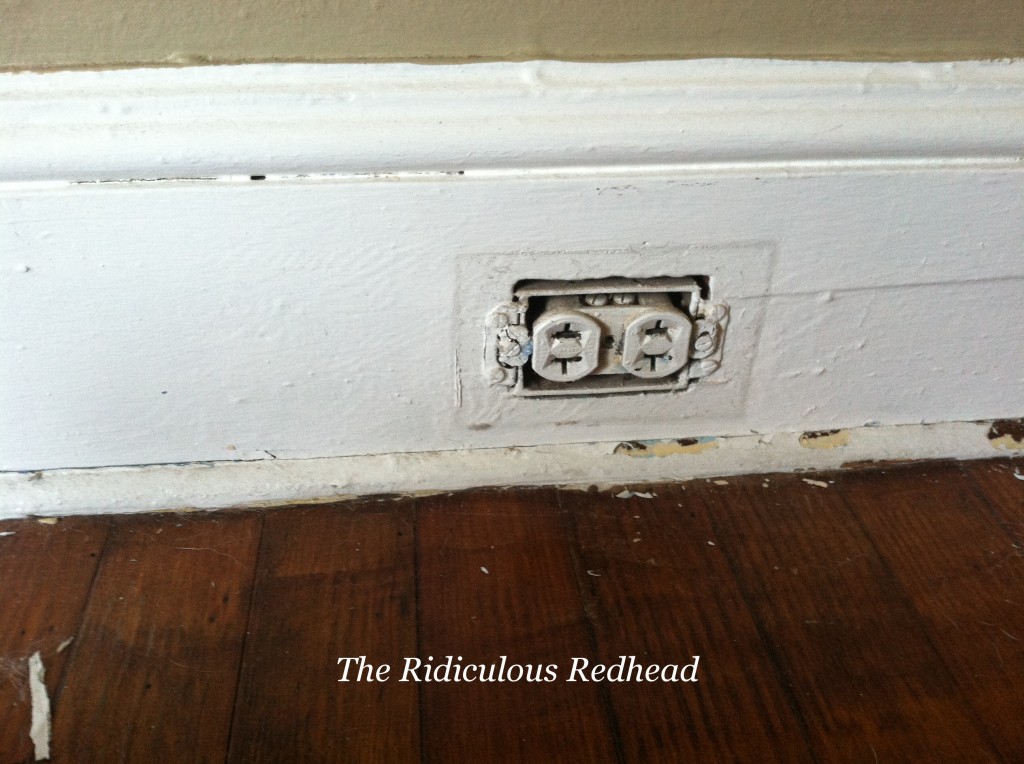
To start I cut down all of the joints that had been painted over so I could pull each of the three parts off separately. As soon as I starting slicing the paint was chipping off everywhere, which you can see to the right of the outlet above. Then very gently I would try to get the screwdriver behind a board and pull enough to get the wonder bar behind it. I pulled a little bit off the way down the wall until I could pry it off in one piece. After the first piece of quarter round came off in one piece I got a little excited it might work after all! The top piece came off in one piece as well. As they came off I marked the back with the sharpie so I would know where to reinstall. Then it came time for the main board.
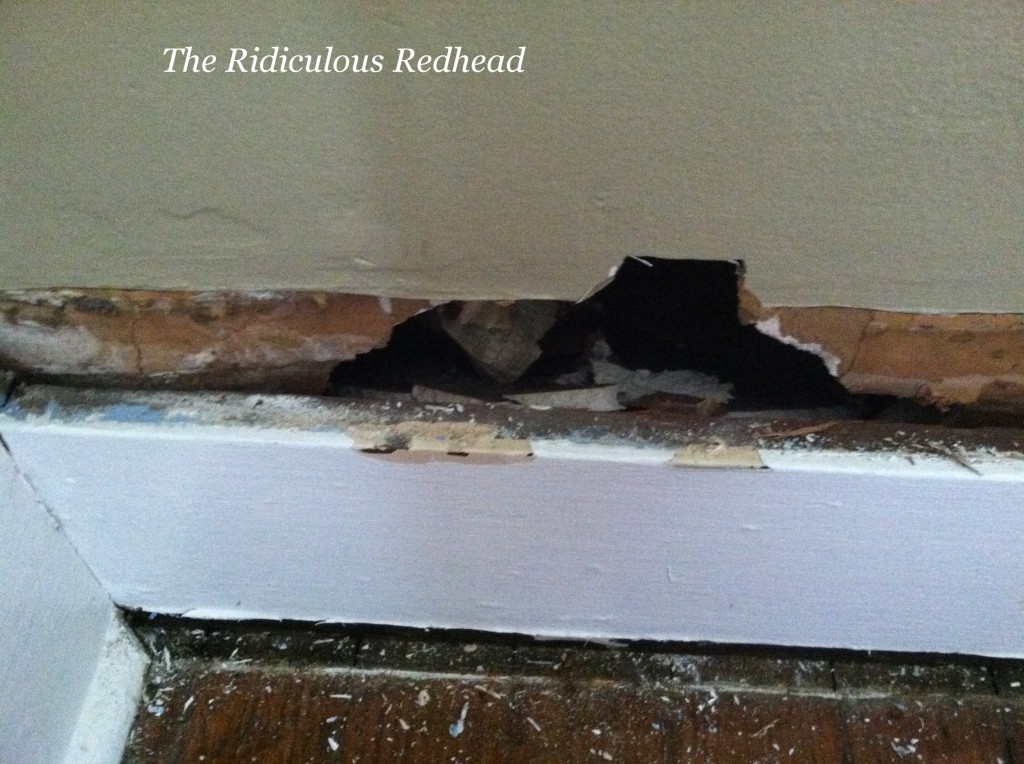
Let’s just stop here and discuss what I learned from my Google research. I was told by the lovely folks at This Old House that in order to avoid damaging the wall when prying the wood off, you should place a block of wood behind your hammer or wonder bar. Since I didn’t want to damage my walls, I found a small piece of pine I thought would serve this purpose well. I put it behind my wonder bar and tried to pry the wood off. The wood didn’t budge. As you can see the wall did. The whole wood block went through it. Thank God I didn’t use a bigger block.
My house was built in 1933 according to all the town records but our walls are not plaster. I’m not sure if it was built with the wall board we have here or if it was renovated in the 1950s and the walls were redone. (I found 1950s newspaper behind some trim.) Either way, this stuff is brittle. Like I had to watch my elbow because if I turned the wrong way I would have put a hole in it brittle. After seeing what was behind the trim that was unpainted, I realized that the walls are really being held together with the 14 layers of paint on it.
So with a lot of loving care, finesse and cursing, I proceeded. I learned that brute strength was my best asset here. (Don’t laugh. Just because I am the size of a 12 year old doesn’t mean I can’t ripped a weak wall down with my bare hands if I get mad enough.) Also helpful was only putting the hammer at the joist and using that for leverage.
Next problem – outlets in the baseboard. I know nothing about electricity. I am smart enough not to touch things I don’t know about that can set me on fire.
I figured that I would pull the board away from the wall, and then maybe my uncle could help me unwire the box, take it off the front and then rewire it. Great idea, except that when I pulled the box out of the wall I saw wires covered in cloth. Oh, cloth wire, I thought I was rid of you! My stepfather Howell had worked on rewiring my house because of this exact issue but never got to finish before he passed away. I guess he never got to this room. So what to do?
I scraped all the paint off of the screws and removed them. Then I cut the edges free of the paint. I figured this whole thing was going to have to be replaced so I bent the side tabs 90 degrees forward and pushed them through. I am sure I am going to get mean fan mail for mutilating a junction box but unless you are an electrician and want to come help, shut it.
The good news is that I only hurt myself bad enough to bleed once. I was taking down a shelf in the closet and the screwdriver bit on the drill jumped off the screw and onto my finger. I should be sponsored by Neosporin. After a band aid and some lunch I brought some of the baseboard pieces to the workshop. They were already a chippy mess so I thought it would be “so much easier” to strip the paint off now and then reinstall. TB just loved- loved- this idea. (TB did not love this idea.)
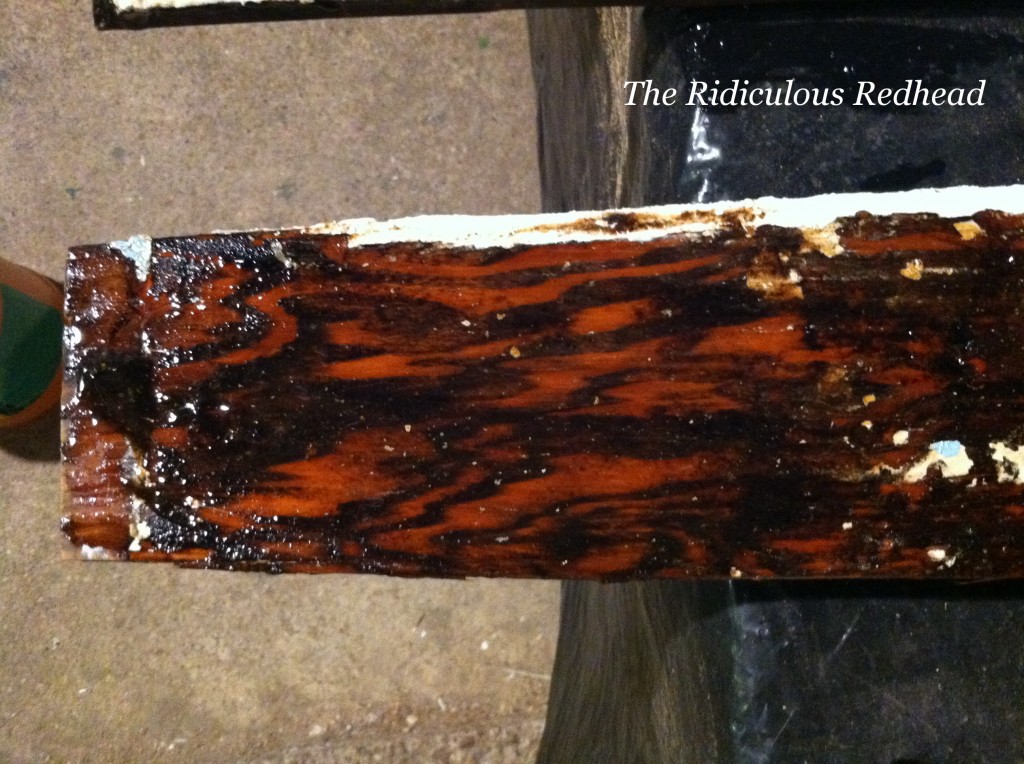
Some of the paint had chipped off to show that it was originally stained. A lot of times in old houses, the bedrooms or upstairs rooms were originally painted to save money while only the public rooms would have stained wood. Since it was stained, it was probably stain grade wood. 80 year old stain grade wood. I seriously couldn’t wait to get the paint stripper on it.
Here is the SoyGel paint stripper soaking. The wood is beautiful.
 I showed it to TB who thought it was beautiful up to the point where he realized if I stain this, I will want to strip & stain the door and window trim. And this room will never be done. Silly TB. Doesn’t he know old houses are never done?


