While I haven’t been posting here for awhile, I have still been gardening! In fact I have expanded the garden, built a greenhouse and have learned new skills. (More on all of that soon!) Adding so many things meant there… Read more
In NJ, summer starts on the Friday of Memorial Day Weekend. There are BBQs and beaches to go to. It’s the best time of year. This time of year is also when the garden starts really kicking into high gear. … Read more
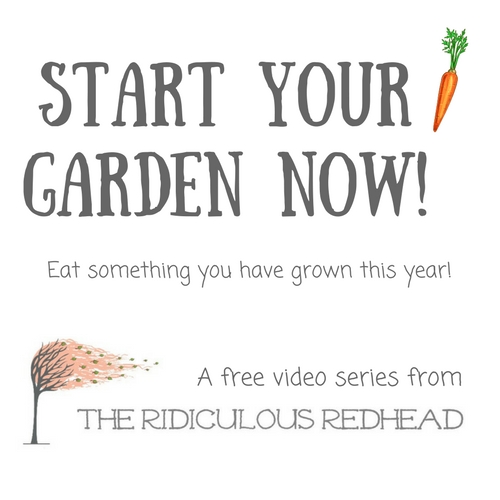
This past winter I have had a ton of people ask about gardening. They want to know how to get started, how to move beyond a pot of herbs in their kitchen window, how to start growing more of their… Read more
Today I walked outside to let Opie out and I checked my asparagus bed to see if anything was coming up. I had 2 spears come up a couple of weeks ago but the snow and freezing temps stopped all… Read more
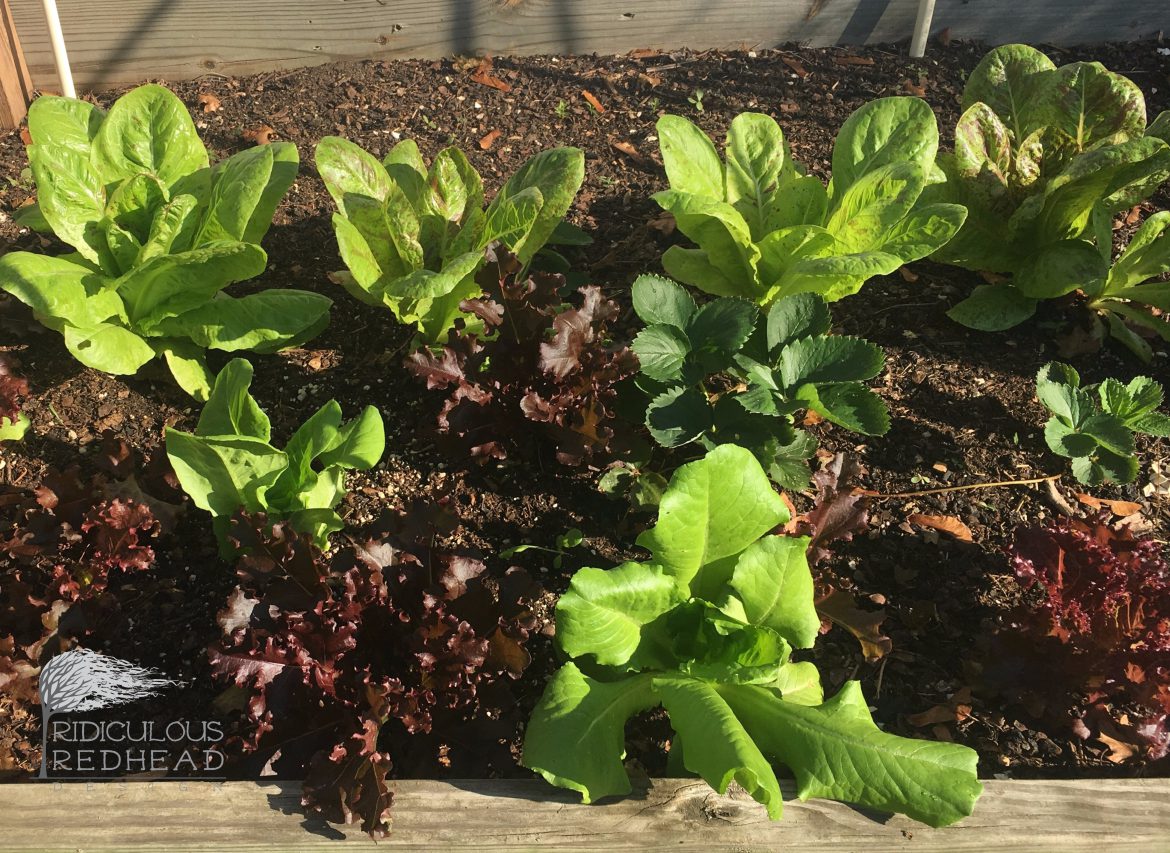
So you go to the store to buy some lettuce. You balk at the price of $4-5 a bag a bit but figure good food is worth it. May I suggest there is a cheaper way to get better food? Grow… Read more
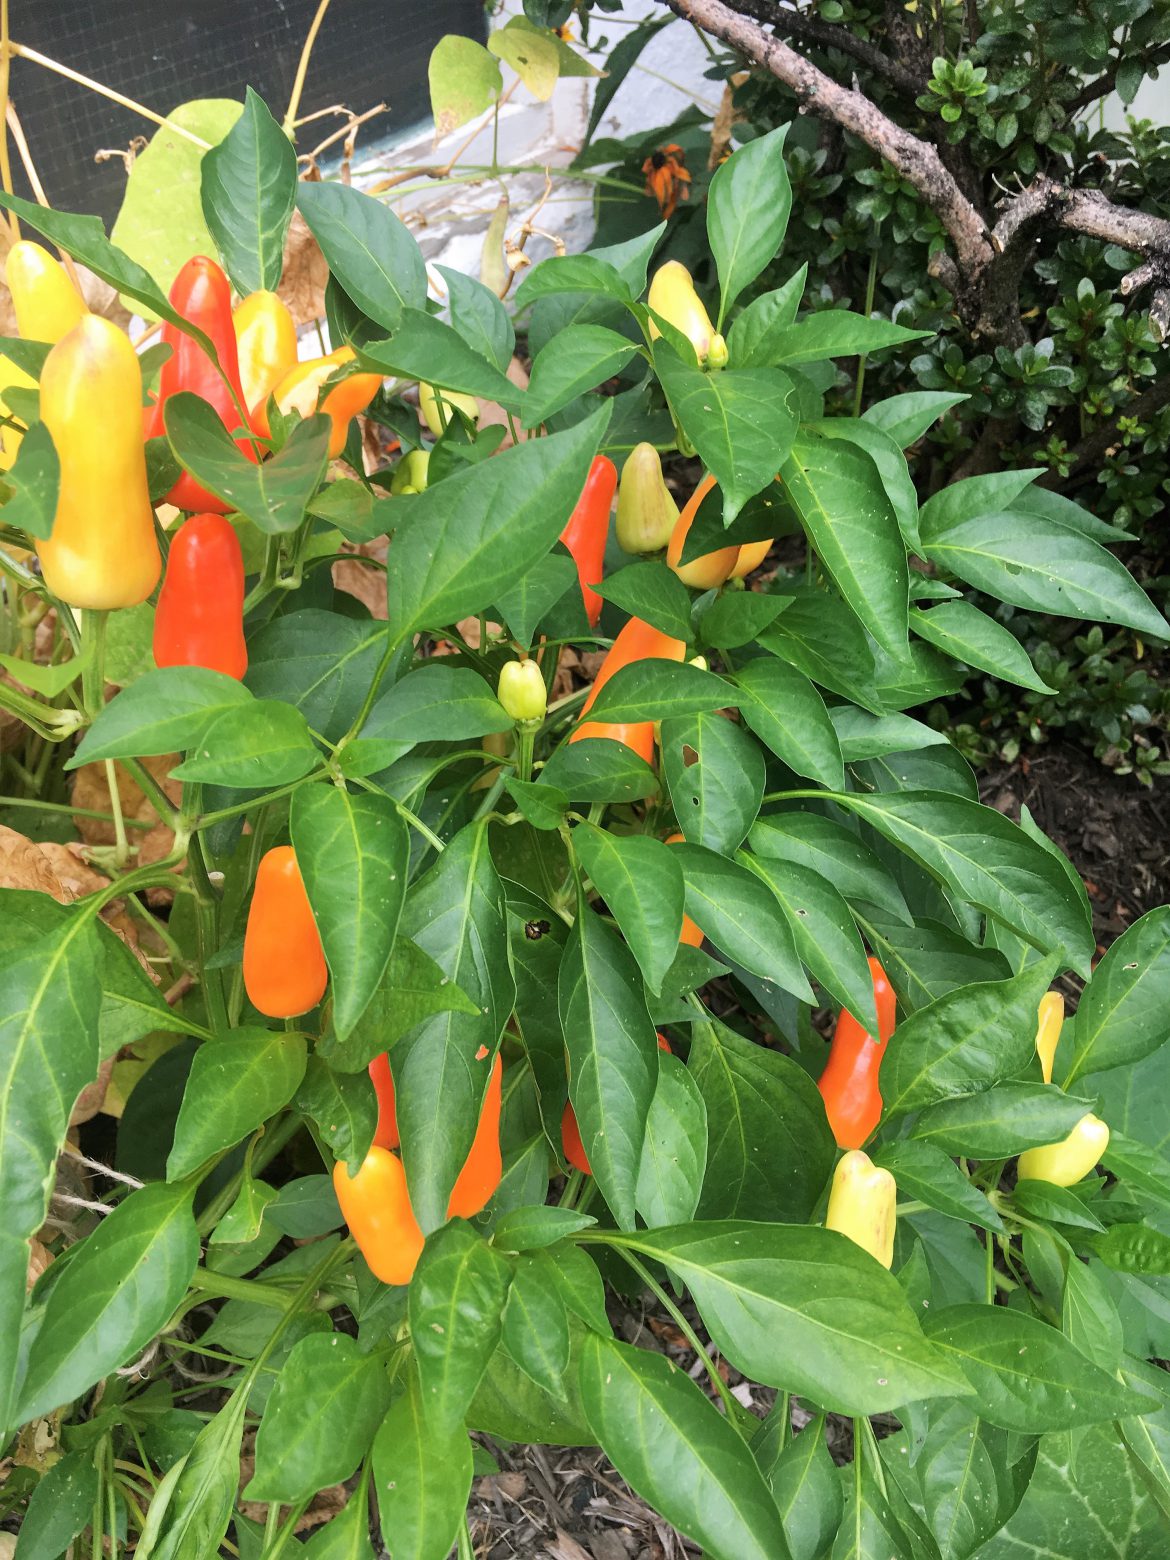
I have been working on so many new things in the garden this year. I am growing new things, in new ways. I have also started the crazy train that is canning and preserving. I have taken about a million… Read more
So I just looked at the date of my last post and it was almost a year ago, to the day. I can’t even believe it. Last year at this time I had decided to take a break from refinishing… Read more