A long time ago, way longer than I would care to admit, I answered a Craigslist ad about a desk. As TB and I walked up a steep flight of stairs to take a look I will admit that I was hoping I didn’t like it since we would have to carry the desk down those steep steps. TB is a good sport and all but I don’t want to hurt him. (Which incidentally happened when we dropped off a bedroom set. More on that project soon.)
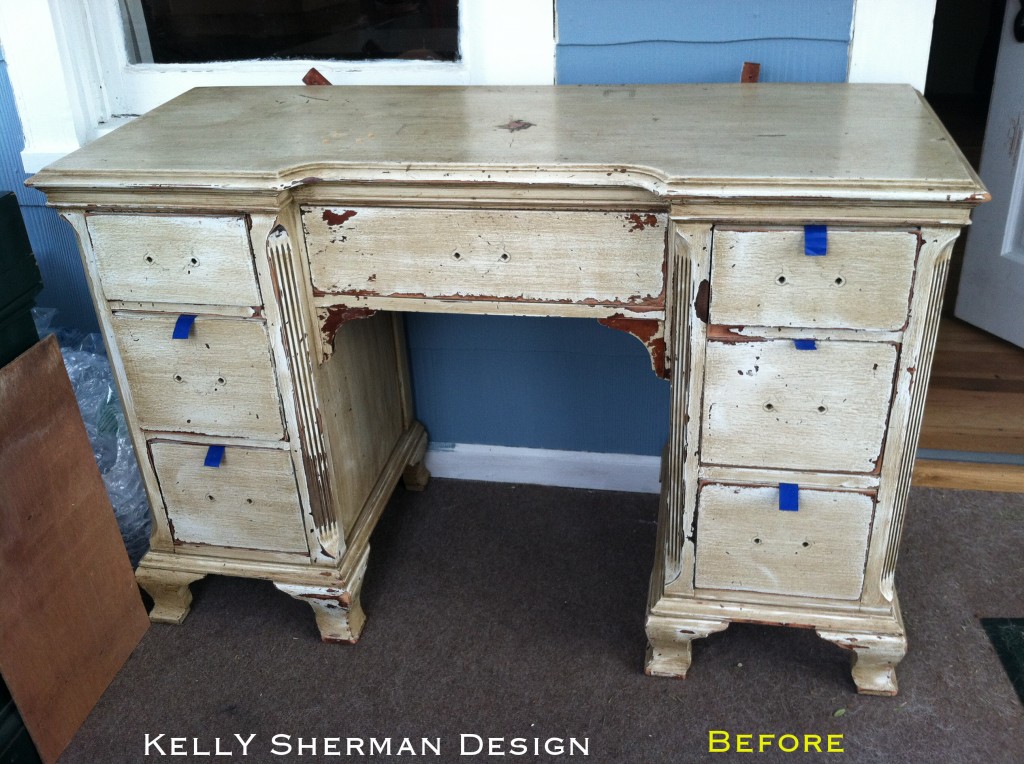
Well of course I loved it. I thought it looked awful. I really felt like that little desk was so embarrassed at how it looked and for me to see it in such a state. There were stickers on her, poor thing. There were the layers of paint, with the most interesting layer being a faux wood grain look. In no way did it look like wood grain. It really looked like a small child finger painted all over it. The seller had wanted to refinish it and had started sanding but had tiny children and really didn’t have the time. So now it was my turn.
Just as expected the desk was made very well – translation: heavy. After getting it down the stairs with strength I didn’t know I had, we brought her home.
And there she sat. I wanted so much to restore the beauty I knew must be under there somewhere. But I have to say it was a little overwhelming. There are a lot of nooks and crannies that I usually avoid when looking for a piece. After TB gently mentioning “Maybe your next project could be that desk” way more than once, I got to work.
First I stripped the whole desk. My plan was to then stain it with maybe a walnut stain. I had all these visions of how regal and lovely it would look restored. And then I ran into this.
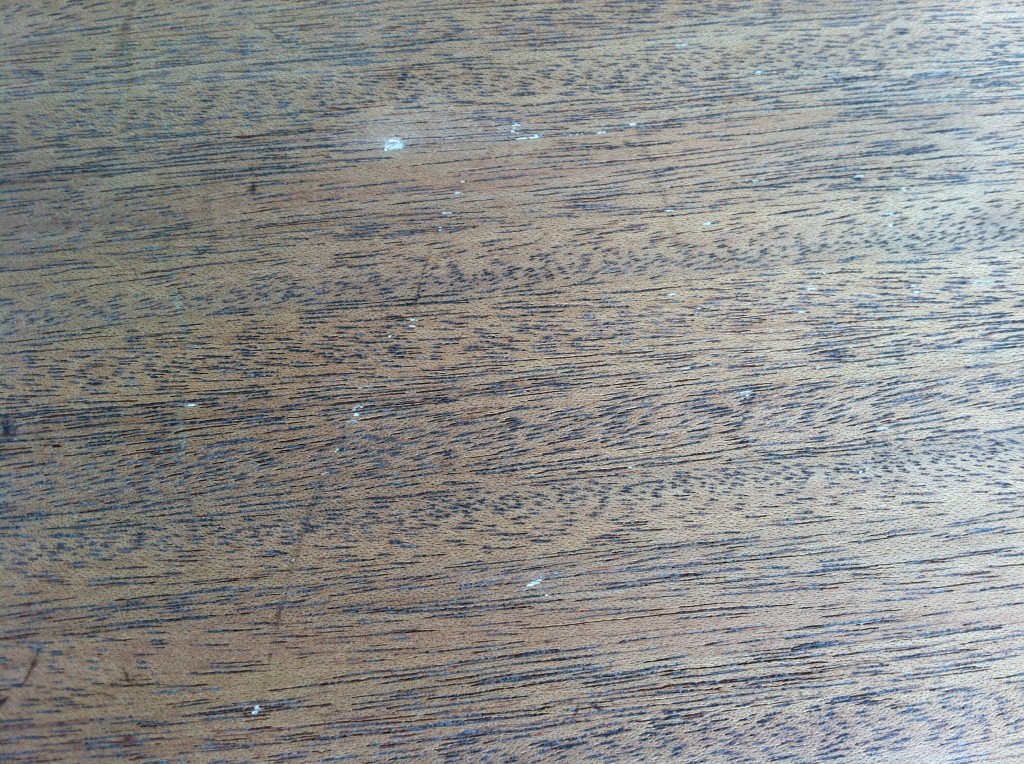
This is white paint embedded deep into the grain of the wood. What’s that you say? Sand the hell out of it? Well it’s not that easy.
This desk, like a lot of furniture, has its surfaces covered in veneer. Veneer is very common and doesn’t indicate a piece is cheap. On the contrary, even the “cheap” wood used for the inside of the drawers back then is nicer than most things produced today. It was/is a way to use more expensive woods like mahogany more affordably. My problem was that if I sanded the hell out of it I could sand a hole right through it since veneer is only a very thin layer of wood.
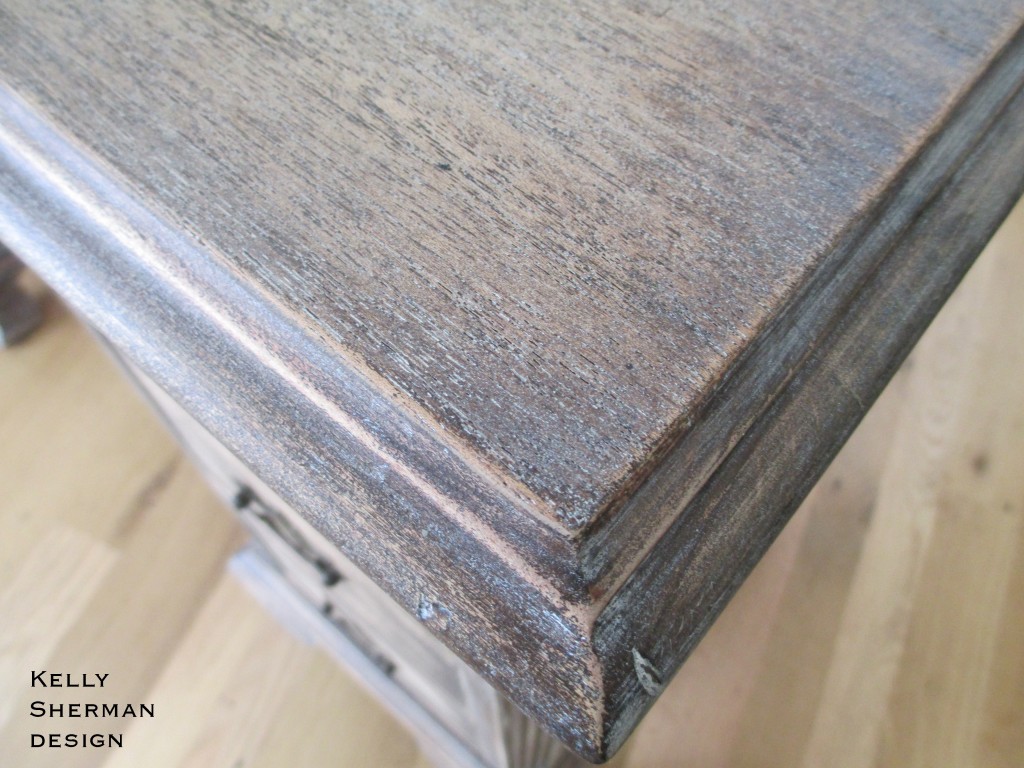
So instead I used the problem as my solution. I had just watched Million Dollar Contractor and he had used a technique called cerusing that I figured I would try. Basically you take a wire brush and brush the wood going with the grain making grooves, stain it, whitewash over it with watered down paint then scrub the paint back off with steel wool. What you are left with is paint in the grain of the wood with the rest of the wood showing through.
Let me warn you that this whole process is really an arm work out. I got a little excited and took off more of the stain than I originally wanted to but I like where it ended up. I think the kind of stain I used also played a part. Now the desk had paint in the grain on purpose. Like that was our plan all along.
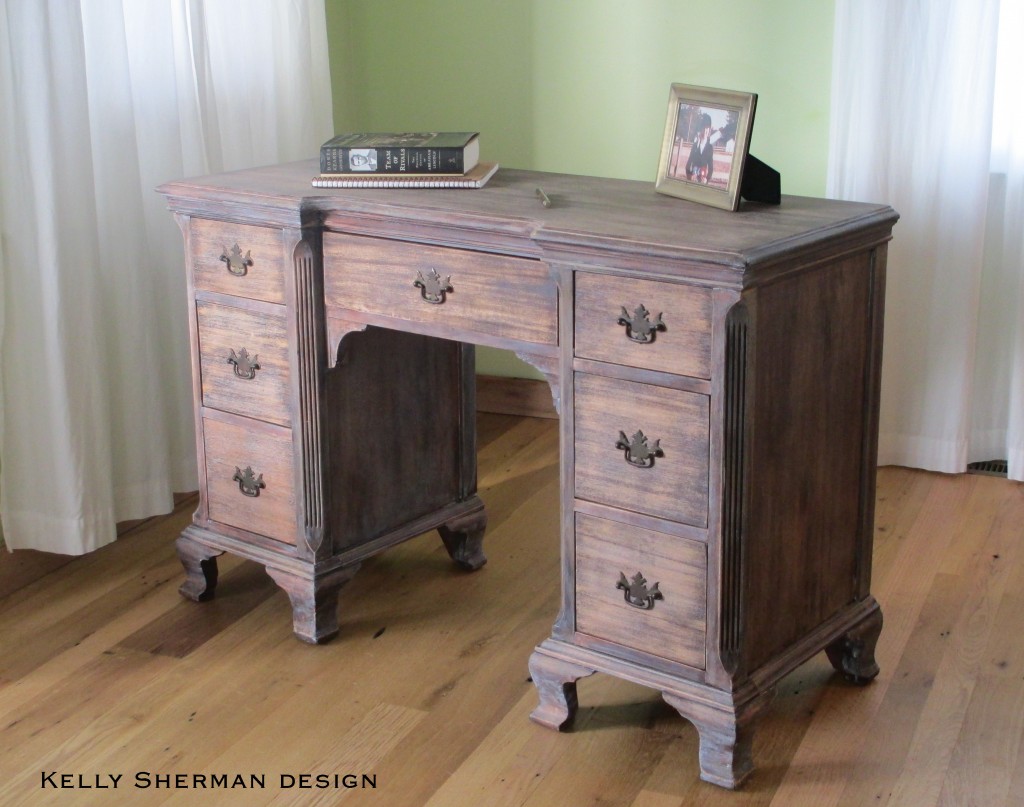
So here is the after.
I hope that I made this old girl feel pretty again after all the bad things that had been done to her. She has such good lines she deserves to be in a beautiful office again being put to use. She’s available for sale in The Shop.
Featured at:
Linked up at:


Really really beautiful!
Thank you so much!!
wow! that is an awesome technique that worked perfect for this piece since the paint was still there.
love this desk!
gail
@Gail – Thank you so much for you’re compliments and stopping by!
I love it!! It looks so Restoration Hardware! What a great technique! Can’t wait to try it out on just the right piece.
Thank you Ann Marie! It definitely turned a negative into a positive. Let me know if you have any questions.
Elegance restored! I’m a sucker for whitewashing to create a driftwood effect, and this produces a similar look. It also looks durable, as if heavy use over time will just enhance the desk. Yeah for you and for cerusing!
This so beautiful! I love it, thanks for sharing
That desk came out really well! Never heard of cerusing before!
Also, nice photo of you with riding ribbons and the Team of Rivals book for staging. 😉
@ Janice – Thanks! It was just luck I saw the technique on tv at the right time. The frame was one of the nicer ones I had around. And I figured the book would make me look smarter.
Came here from the MRL page to check this out and you did a wonderful job with this! I’m sure she’s much happier now that she’s gorgeous again.
I have just the piece to try out this technique—so excited! Thank you for sharing!
Just found you on Better After. I love this!!! Thanks for sharing this technique.
Hi, saw your beautiful desk on MMS. I’m excited to use your technique. I’m a fellow NJersian, not that far from you.
You did a fab job on it. As a matter of fact just snagged a free dresser in my local town and will use that technique as well. Thanks for sharing!
Very nice look for the desk. I just moved a desk to the garage to get it ready for it’s face lift. Painting it white with ASCP.
What?!? Just so fabulous!!
love the redo, the desk is beautiful, i would love to feature it, if that would be ok please let me know
lauren
I’ve never heard of this technique before but it is certainly beautiful. Thank you so much for sharing it. I will definitely be giving it a try! Hugs,Patti
What a gorgeous restoration you did! Thank you for sharing, I am featuring today. -K
@ Karen – Thank you! I am honored.
not sure if you saw the feature, you can check it out here,
http://westfurniturerevival.blogspot.com/2013/02/revival-monday-98.html
thanks again,
lauren
Lauren, I did see it and told everyone on Facebook and Twitter. I thought I emailed you to say thank you, but if I didn’t THANK YOU!
Love this look! I am trying to learn how to do this for my coffee table redo. I really like the color you have achieved. What color stain did you use first? Was the white paint a pure white or an off white or cream?
Going back now to check the rest of your site. Amazing!
Pat, I used products from Safecoat. The stain was walnut and the paint was ultra white watered down probably about half. I planned for it to be a lot darker actually but when I was scrubbing the paint back off with steel wool I guess I got a little overzealous and took a good amount of the stain off too. This stain isn’t like regular oil based stain in that it doesn’t soak into the wood as much so it’s easier to get off.
Thanks for visiting and please let me know if you have any other questions. I am happy to help!
Can’t wait to try this! Thank you very much for your quick response!
Pingback: Catch as Catch Can 108 - My Repurposed Life™