Ok we are on a roll! We have seeds! We have pots! (No, not pot mom, pots) Now we are ready to plant these little babies.
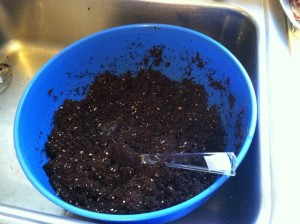
To start, get a big bowl or bucket and put some soil in and add a bit of water, just so it’s damp. It’s easier to start with damp soil then to water later and wash the seed away. I use a big serving spoon to scoop since it’s easier to fit it inside the pot than my hand shovel / trowel. It’s just organic dirt and washes off so you can use the spoon again.
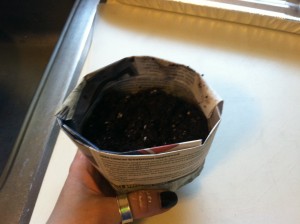
Take one of your newspaper pots and add some damp soil. This pic is from when I was building the pots so there is only a bit of soil. When I put the seeds in there was a bit more. You want to put enough dirt so there is enough room for roots to grow and toward the top of the pot so sun can reach the seedling.
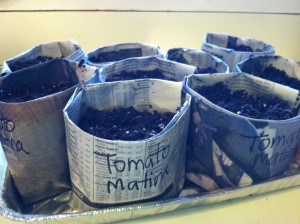
I started 4 pots of each type of seed and only put one seed in each. You can also put a few seeds in one pot and then pull out or thin and only leave the strongest seedlings. Be careful not to put too many though since they will fight each other and be weaklings. My parsley last year was so sad because of this. Read the back of the seed packet which will tell you what to do. Mine said to plant 1/4 inch deep. I picked one of the biggest seeds out of the pack and dropped it into the center, tamped it down a little and move a tiny bit of soil over just to cover. Go with the depth on the package. It’s important.
It’s important to mark your pots so you know what you are growing and where it will get planted. Seedlings all look alike to the untrained eye. Don’t guess. Since these are newspaper, you can just write on the side.
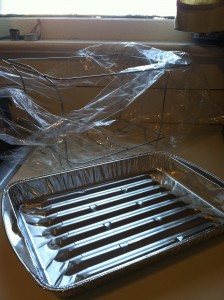
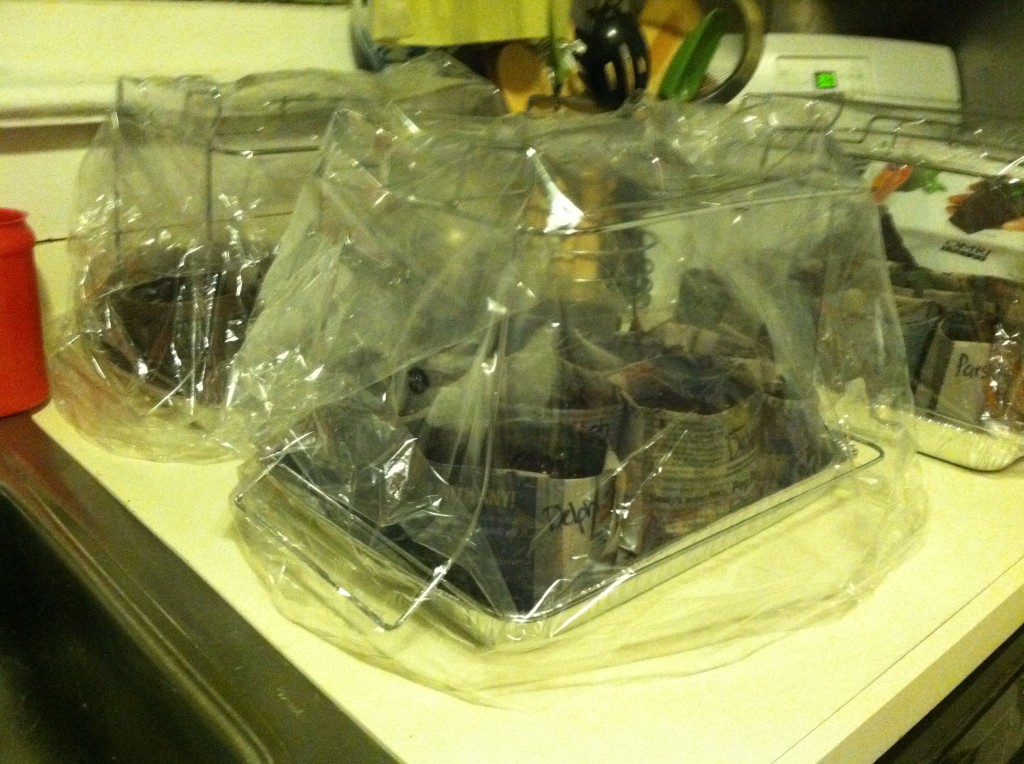
To act as my tiny greenhouse I have tried to be creative and also cheap. After a party I had some left over a sterno rack – you know the ones that keep the ziti warm – and it gave me a brillant idea. I then went to the dollar store to for two more and found these aluminum trays with little ridges on the bottom. I have no idea why the racks come in a plastic bag but they were just what I needed.
The tray will hold our newspaper pots and the ridges will give us a bit of drainage so they aren’t sitting in the water all the time. Then flip the sterno tray over and have it serve as a frame over the tray. Then lay the plastic bag over the whole thing and you will have a tiny greenhouse. The sterno rack frame keeps the plastic from falling on the fragile seedlings. The plastic bag will keep both warmth and moisture in so the seedlings don’t dry out.
Here we are all assembled. You can also tuck the bag into the tray so any condensation can drain back inside.
Seeds need warmth and no sun until they sprout so the top of the fridge is a good place. After they pop out they need light and lots of it. I am going to use a south facing window with a lot of light due to space issues but a grow light hung low to the seedlings is a better idea.
Total cost on our garden so far
-newspapers $0 – they can be planted with the seedlings or torn off and composted
– soil $4
– 13 seed packets $27 – they averaged $1.88 so starting with only a few would be really cheap
– sterno & trays $6 – these can be washed and used again next year
Now we wait for the little seedlings to emerge. I will keep you posted.

