Today I bring you a project I just finished and dropped off to the happy owner this morning. I was asked to refinish a vintage dry sink that had been in the family for years but had seen better days.
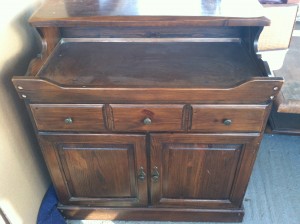
Here is where we started the day I brought it back to the shop.
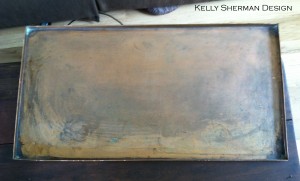
One of the coolest parts of this piece is the part I didn’t even notice at first. There is a copper insert right on top that you can barely make out in the pic above. Here is a pic on its own so you can see how tarnished it had become.
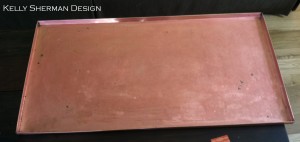
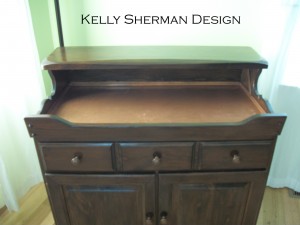
There are many products on the market to clean copper. Most of them are not exactly eco-friendly or nontoxic. Instead I cut a lemon in half, took some ordinary table salt on the cut part and rubbed it over the copper. Really, that’s it. You don’t even have to rub hard since its the acid in the lemon that does all the work. It’s not only eco-friendly, it’s edible (and delicious with tequila)! Here is the result.
As for the main part of the dry sink, I went to work stripping the finish and the stain off. Inside and out. This part made my arms very tired. I was digging the tiger stripes effect on the pine. Since we re-stained close to the original color I am also including this picture to prove I actually did work on this.
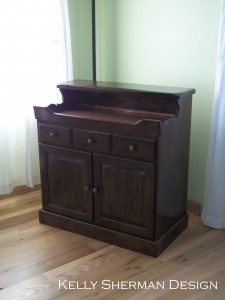
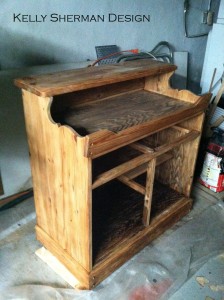 I then stained it with Safecoat Durostain in Walnut and gave it three coats of VNC Polywhey in gloss. We changed up the hardware to match the copper and make it a bit more modern.
Here are the after pics:
Thank you to Karen, Rick and Sissy for giving me the chance to give this one a makeover!


What year would you say this drysink is from? I found one today on the side of the road….it’s beautiful and I’d like to put a date with it…it is literally almost the same one or may even be the same one.