What is the best thing about February? Noooo it’s not the cheap chocolate or the expensive dinners.
It is time to start some seeds for the garden!!!
Seed starting is such a time of hope. February is where we turn the corner and start to feel like we are heading toward summer again. The days are getting longer. Things are starting to grow just a little.
This year I am going to start some seeds inside like I did last year in the newspaper pots. You can read all about how to do that here in my award winning article Planting Your Seeds. If you are a long time reader you may remember the challenges of seeds indoors where the dog has access. If not, you can check out this installment of Opie is a bad dog. Another challenge is having enough space with lighting for all the seedlings you want to grow.
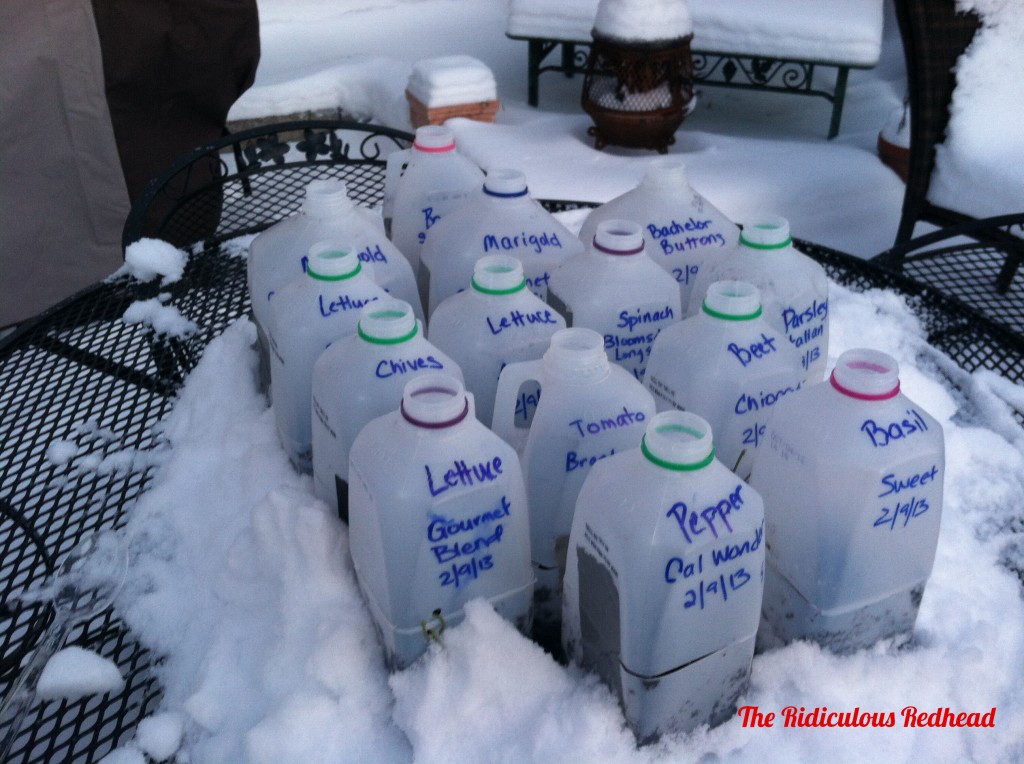
So this year I have been reading about a new technique for starting seeds. It’s called winter sowing. The basic idea is to plant seeds inside a tiny greenhouse (like a milk jug) and set them outside. Yes, outside. The container they are in protects them a bit and they get a better start. Winter sown seeds also have the advantage of not needing to be hardened off (or acclimated slowly to being outside) like the inside seeds. You also don’t need huge grow light set ups in your house, helpful for those of us that have small houses.
Like the psycho researcher that my family claims I am, I set about finding out how and when. Here are some of the best articles to read up on this topic.
– A how to from Trudi Davidoff (who developed the method originally) at GardenWeb.
– An awesome tutorial from Kevin Lee Jacobs at A Garden for the House. He also has articles on what kind of containers to use, what seeds work best and tons of other advice. Once I read all the winter sowing info, I spent an entire afternoon reading all about his house built in the early 1800s and his many gardens. I highly recommend it.
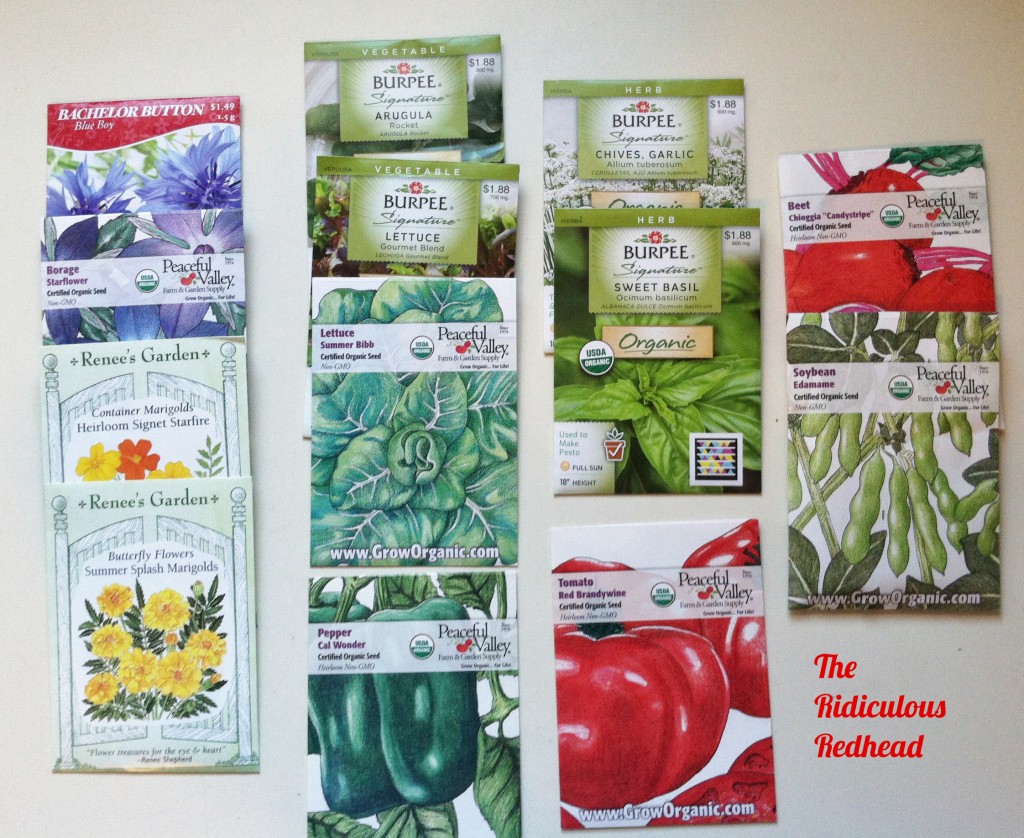
Since I didn’t want to put all my eggs in one basket I thought I would try seeds with both methods. Here are the seeds (so far) I have bought this spring that I am planning to grow this year. I am also going to plant some of the seeds I have left over from previous years.
Inside I have started two newspaper pots each of organic Brandywine Tomatos, organic Cal Wonder Peppers and organic Sweet Basil. Those got planted on 2/17 and I just looked in this morning to find teeeeny basil shoots coming up. Now to find a spot in the sun for them.
Outside I am starting a whole bunch! I have had friends and family saving containers. After my first two rounds of winter sowing here are a few things I want to mention.
1. To get the labels off the containers, fill the container with hot tap water and let them sit for a minute. The labels should peel right off without being sticky. Then dump the hot water into the next container and repeat. This will also help for rinsing any gook out of them.
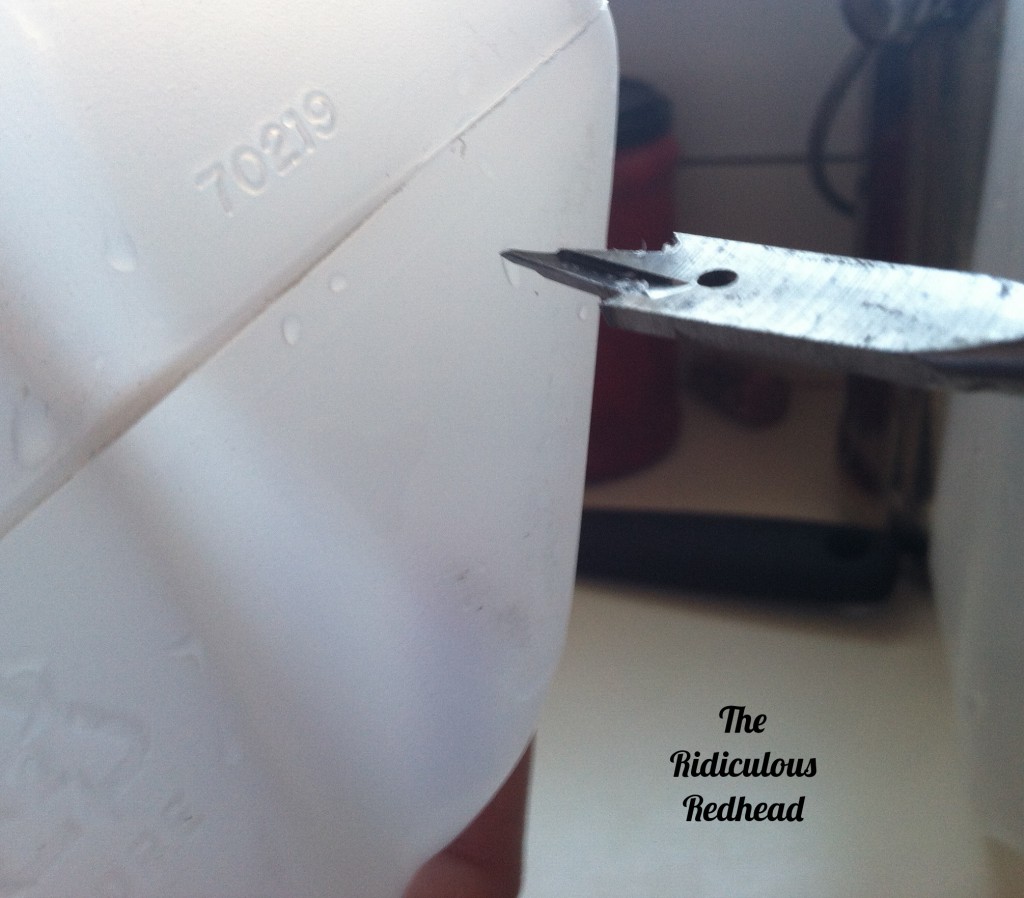
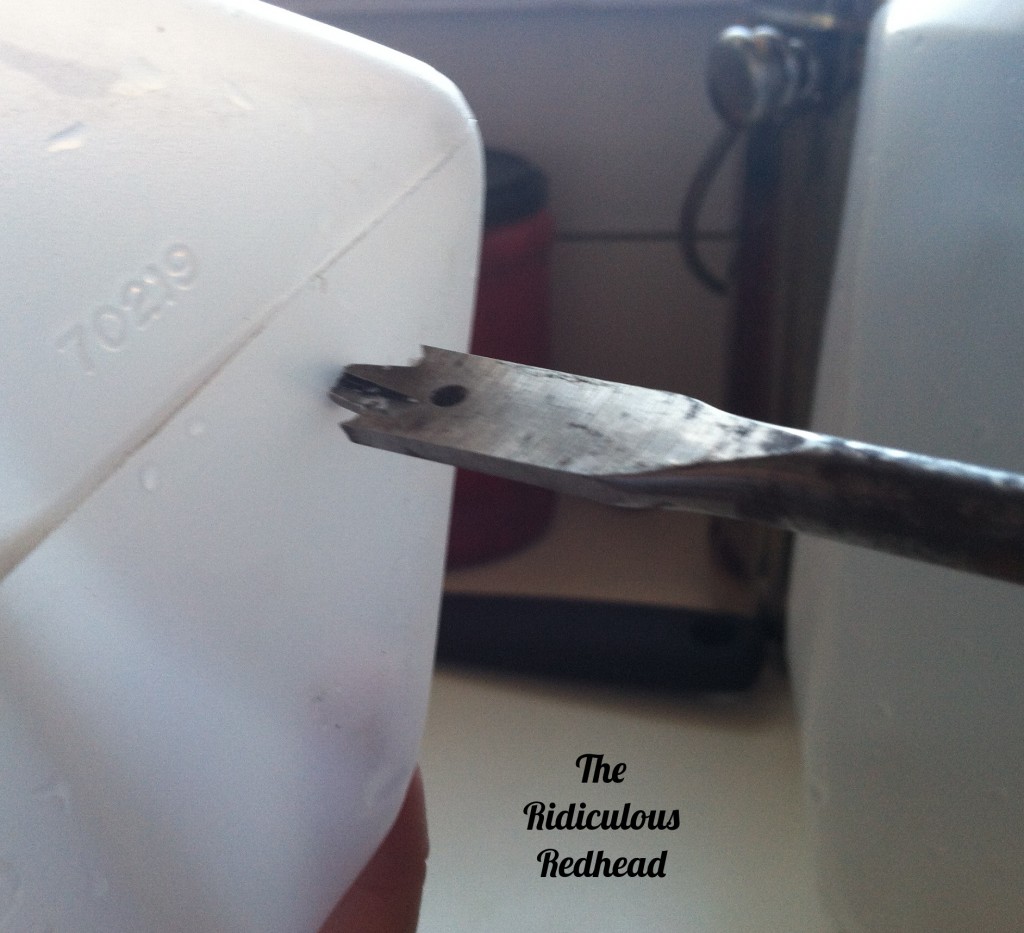
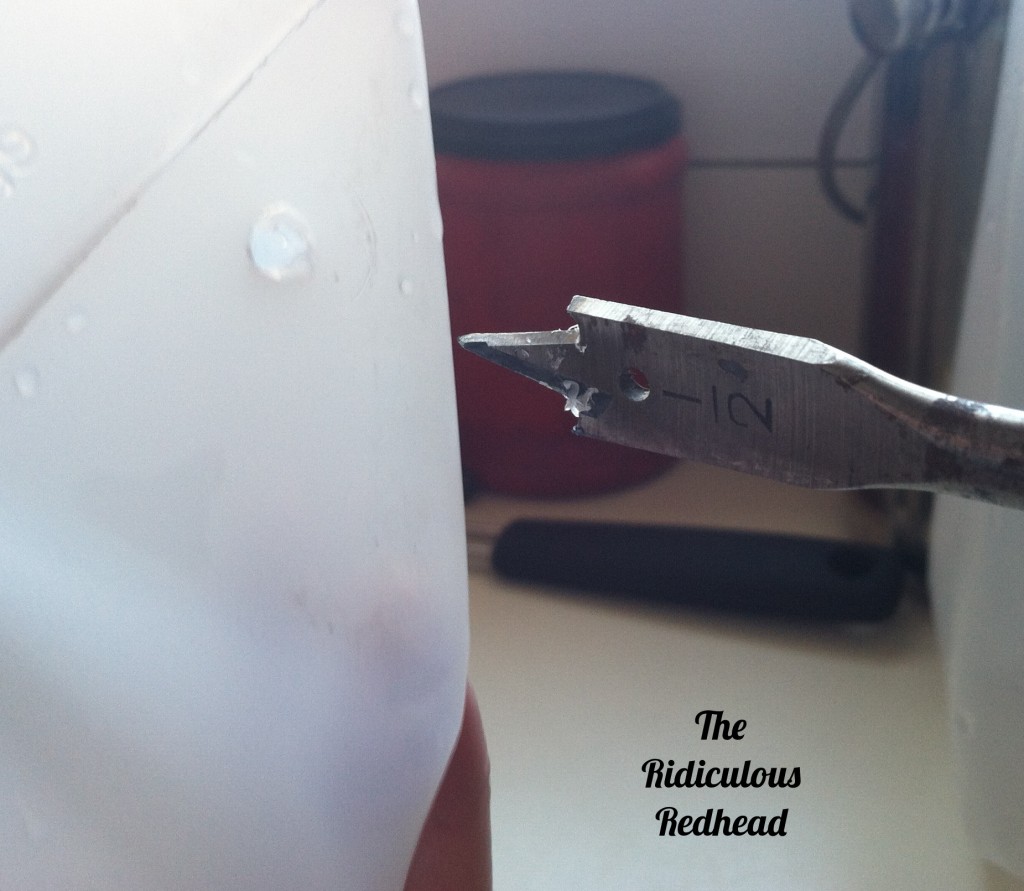
2. Many websites tell you to burn or melt holes in the plastic containers. I don’t think burning plastic is ever a good idea. It’s nasty stuff. Instead I used a paddle bit and my drill. First pierce the jug with the pointy part and then hit the drill trigger once. Just go as far as the pointy triangle part in the middle. If you push the whole bit in (including the 2 wings on the side) you will end up with very big holes.
3. When using the paddle bit be careful. The jug will probably be wet and slippery.
4. If you are thinking in your head at anytime “This is a stupid and dangerous way to do this” – stop. I was so careful until I got cocky. Things always take a turn after you get cocky. And FYI, when the pointy end of that drill bit pokes into the palm of your hand it will hurt a lot and it will bleed.
5. I find that getting the soil wet in a bucket (or my big blue bowl) before starting works best. Water can run right off dry potting soil and make a mess. Put the moistened soil into the containers and then give them a soak to get air pockets out. I then let them drain on cooling racks set in cookie sheets until ready to plant.
6. Double label things. I have only marked the outside but I have been told the sun will fade the marker and you won’t know what is what. You can mark the bottom, put cut up mini blinds or tongue depressors inside, or go all Sheldon Cooper and use bar codes, whatever. Don’t say I didn’t warn you.
6. Working with soil and seeds inside, where it is not cold and snowy, is pretty awesome.
Here is the first round. I have since added a bunch more which I apparently haven’t taken pictures of, but I will. This was taken right when I put them outside on the table. A little while later it occurred to me that Mr. Opie would have no problem reaching these. I moved them over behind the gate in between the gardens right away!

